Two weeks ago I wrote this piece encouraging folks to work on their own gear. I explained how tweaking and repairing my ski gear adds to my overall experience as a skier. But, it seemed like it might be worth sharing some of the work I actually do, beyond the obvious things like waxing my skis or mounting my bindings.
So here are a few easy things that you can do, at home, with simple tools, to make your gear work a little bit better. Sure, this would probably work better as a flashy youtube video with a clickbait title, but all the little gains in efficiency add up. Do these tweaks really matter? No. Are they a little anal retentive? Maybe. Do they make skiing easier and more fun for me? Yes! Let me know what your favorite gear hacks or mods are down in the comments.
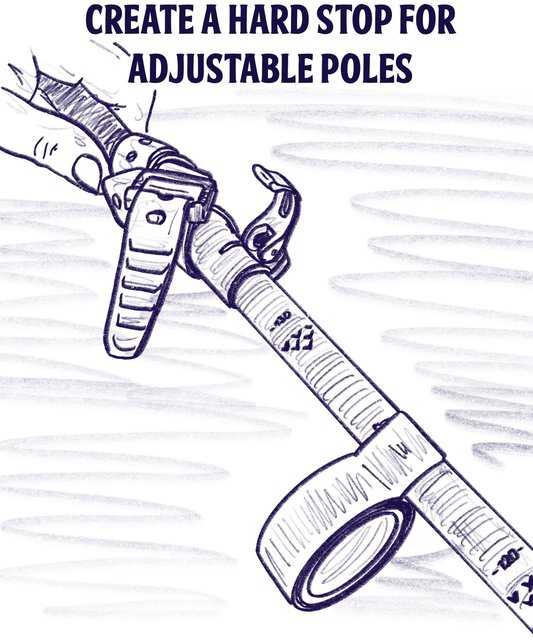
Because I am a product of this website (literally, I was reading NS before I ever made a turn on skis) I like my poles a little shorter than average for the descents. I came of age during the era of skittle suits and kid’s poles. I like short poles for going downhill. But, I am tall, and I also like walking uphill a lot. So I always ski with adjustable poles. I make my poles as long as possible for the up, and then drop them down to 125 cm or so for the down. But most adjustable poles go much shorter than 125 cm, so I’ve found that I’m spending a little extra time every time I transition to downhill, making sure that both poles are the same length.
Finally. I just put a single wrap of electrical tape just below the 125 cm mark on both poles. That means that when I shorten my poles to go downhill, I don’t have to look at the measurements, I just push them down until they hit the tape and stop. It took all of 30 seconds to add the tape, and it saves me at least that much time every time I tour.
I also like to store 6ish feet of Gorilla tape, and an extra ski strap wrapped around each pole, just in case.
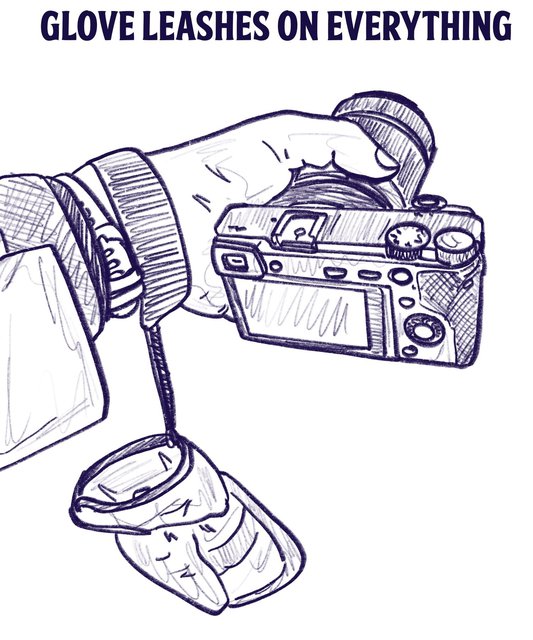
I’ve spent a lot of my life on skis behind the camera, which means I’m in and out of my gloves a lot. I also prefer to ski in mittens, so I need the dexterity of gloveless hands for a lot of tasks. So, glove leashes are my best friend. I truly don’t understand why everybody doesn’t use them. Taking your gloves off and setting them in the snow, or trying to jam them in a pocket always ends poorly. You can make your own glove leases out of some paracord, or buy them for around $5 per set online. I add them to everything, from Kinco mittens to my light liner mittens I skin in. I love slipping out of gloves and knowing they’re not going anywhere.
And if your gloves don’t have a loop to attach the leash to, it’s easy to install a grommet so you can. My $12 grommet tool from Amazon gets a lot of use modifying bike gear.
More and more brands are including purpose built pockets for avalanche transceivers on their pants and bibs. I’m fully in the “Beacon in my pocket, not on a chest harness” camp. It allows me to carry the beacon more securely, I don’t have to take it off to adjust layers, it makes it easier to separate from other electronics for interference reasons, and it’s more accessible. However, in recent years, I’ve had a few pairs of pants that I really liked but didn’t have beacon-specific pockets.
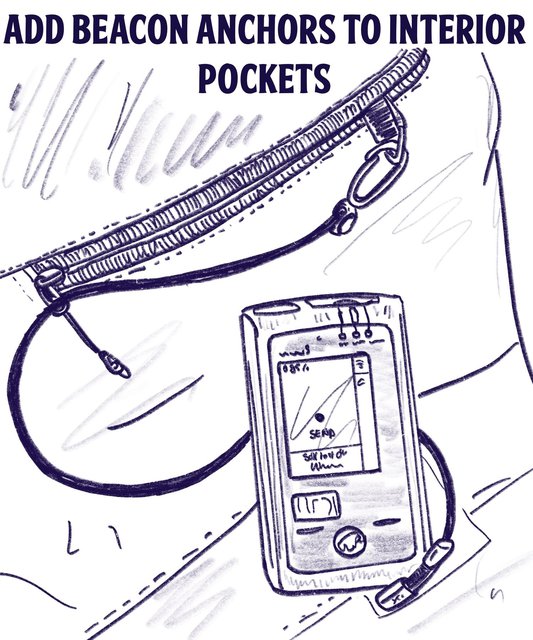
There are three things that make a pocket beacon-specific. The first one is easy: It needs to be zippered. No velcro or snaps. It must also be an interior pocket. The “bag” of the pocket must be welded or stitched inside the pants. It can’t be a cargo pocket on the outside of the pants. Most ski pants with hand pockets meet these requirements. The third is a little more complicated: it must have an anchor point for your beacon’s lanyard. This is important because in the excitement of an avalanche search, it’s easy to drop and lose your beacon. The lanyard makes sure this doesn’t happen.
Purpose built pants will often have a little plastic clip to snap your lanyard into. But, if your pants have a zippered, interior pocket, with no clip, it’s easy to make your own. You can pick up plastic or metal O-rings at any hardware store, and then sew or rivet them into the inside of the pocket you want to use. Make sure it’s a strong connection, the goal is for the connection between the transceiver and the lanyard to fail before the connection between the lanyard and the pants would. Boom, you’ve got a beacon pocket.
I’m sure I’m going to get some flack in the comments for suggesting this modification, but it’s simple, and it’s really easy to create a stronger connection that the pants designers are integrating.
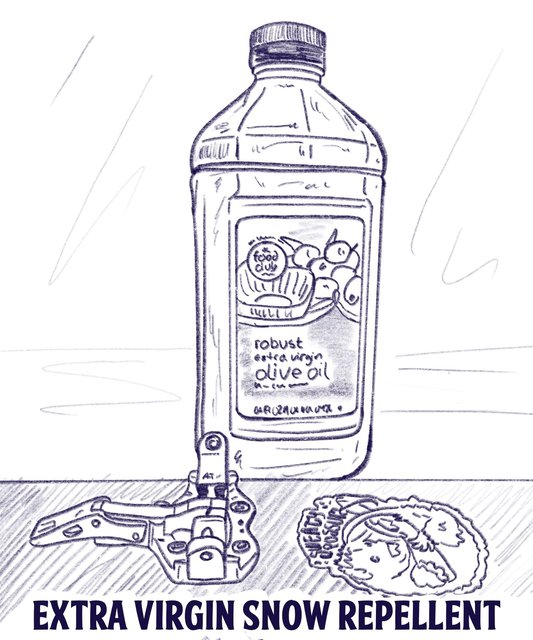
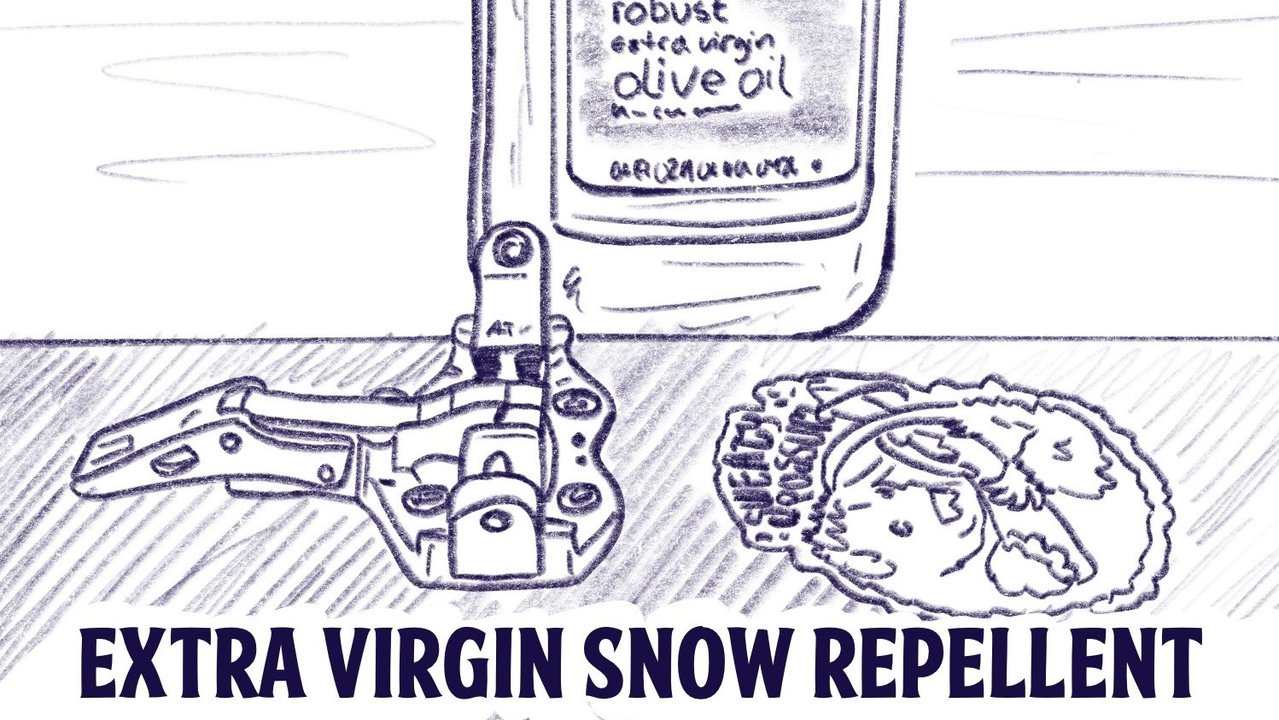
This one is sorta weird, but it’s worked well for me. I hate when snow builds up on my bindings, making it hard to click in or out. There are fancy sprays with dubious science to back them up, designed to repel snow. Or you can just grab some of that extra virgin olive oil you use to cook with, and use a paper towel to wipe it into problematic areas. It works well, it’s free, and now your skis smell like focaccia bread. Or you can use Pam cooking spray, but my wife doesn’t believe in that stuff, so it’s olive oil for me.
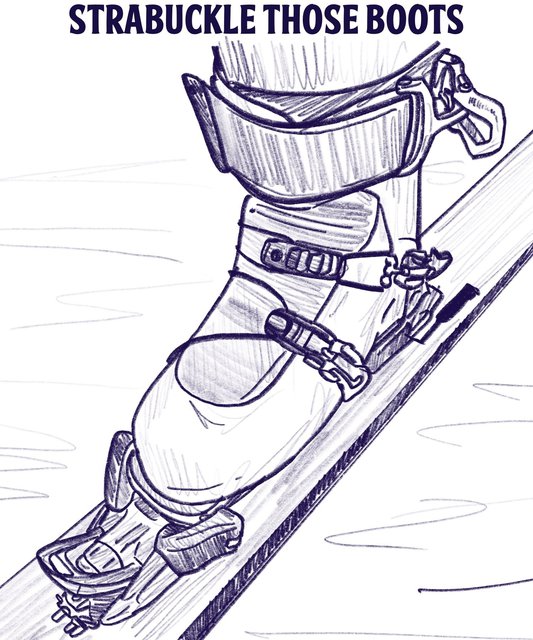
One of best ways to make your touring boots ski better is some kind of aftermarket power strap. And one of the best ways to make your touring boots transition better is to get rid of complicated cuff buckles and replace them with something quicker. So you can kill two birds with one stone by replacing your current power strap and cuff buckle with something like Roxa’s top Strabuckle. I really like this thing. It works well on Roxa’s boots, and on other boots as well. I’ve successfully replaced the top buckle and strap on Scarpa Maestrales, and Full Tilt (or K2 now) Ascendants with the Roxa Strabuckle, with no discernable loss of ski performance. And now, it’s one fluid motion to open or close the top of your boot as you transition, instead of having to adjust a velcro strap, and tighten a traditional buckle. It’s just plain better. Steal the part off some old R3’s, or call a Roxa dealer and have them order it for you. It’s simple, it’s light, and it works really, really well.
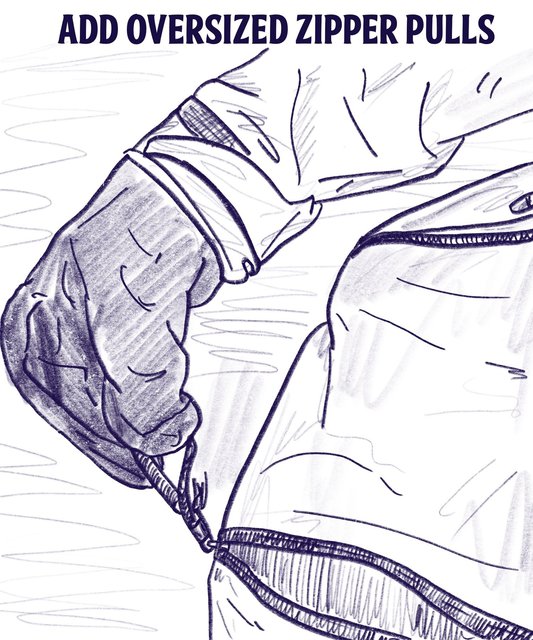
As I mentioned above, I like to ski in mittens. But that means it can be hard to access pockets or pit zips without taking them off. My solution has been to add oversized zipper pulls to my gear. I use repurposed friendship bracelets, but loops of paracord work well too. I have these oversized pulls on key pockets, and my pit vents. They’re easy to grab, even when it’s windy and I’m wearing thick gloves, and they make it easier to access important gear, or open or close vents. It costs nothing, and takes very little time to add these mods to your gear, and it makes every day in the mountains a little easier.
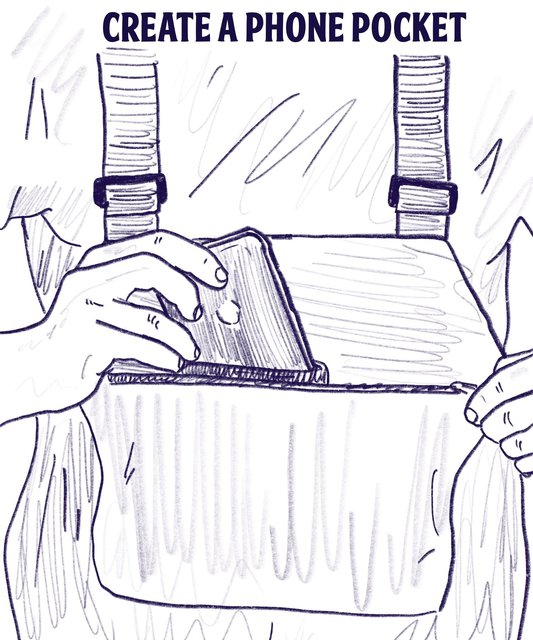
I use my phone for a lot while skiing. I grab clips with it, I navigate with it, and in an emergency, it’s my lifeline. But phone batteries don’t do well in the cold, and the electric signals it puts out can interfere with beacons. That’s why I’ve built specialized phone pockets into my favorite pairs of bibs.
The cheapest route is to use duct tape to combine cut up pieces of a reflective survival blanket and a foam can koozie to create an insulated nest for your phone that you can then sew or tape into your pants. Make sure to install it in a pocket that will be at least 20 cm from your transceiver while sending, and at least 50 cm away while searching.
You can also buy a more specialized product, like a Phoozy, and sew it into your pocket, or purchase a phone faraday cage. Regardless of what route you go, you’ll be surprised at how much better your battery life is if you can keep your phone insulated.
Conclusion
None of these gear modifications takes more than a few minutes to do, they’re perfect activities to kill time while you wait for snow to fall. But all of them have made my days skiing just a little more efficient. So let me know, what do you like to do to your gear to make it truly yours?

Comments