I’ve been contemplating the idea of jailbreaking my iPhone for months now. I always wanted to try it out and open myself up to new features that are not available to “well-behaved” customers. In case you aren’t familiar with jailbreaking, Wikipedia describes it as “a process that allows iPhone and iPod Touch users to run unofficial code on their devices bypassing Apples’s official distribution mechanism, the App Store.” Apple keeps a tight grip on the applications it allows in the App Store and frequently rejects apps which might cause strain to the AT&T network, violate terms of service, or harm the device. Jailbreaking allows the user to tap into the full potential of their device.
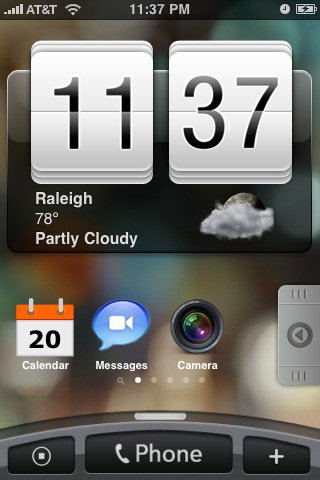
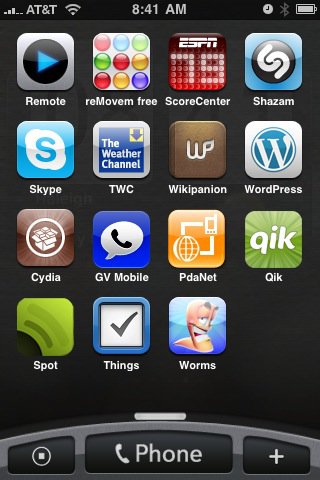
iPhone with the HTC Hero Sense UI Theme and custom icons.
Originally I didn’t see the value in jailbreaking. I was happy with the applications in the App Store, and didn’t see a need to risk harming my phone or voiding the warranty for marginal gain. However, the landscape has changed rapidly over the past few months. Apple and AT&T have been rejecting more and more applications that are of interest to users. The rejections of a Google Voice app, live streaming video with Qik, and the lack of support for background applications have pushed many users over the edge. Many of these users have turned to jailbreaking their phones and are doing so with minimal effort. Yesterday, I decided that I was ready to gain access to the full potential of my iPhone and go for it!
First of all, there are a lot of different tools you can use to jailbreak your iPhone or iPod Touch. I don’t really want to get into all the details now since there are many websites which provide full guides. Basically, it’s important to know that the version of your device (iPhone 2G, 3G, 3GS) and version of your OS (3.0, 3.0.1, 2.2, etc.) are very important. Some tools only work with certain devices and/or certain software. Make sure you read all instructions carefully. Two of the popular tools for jailbreaking the iPhone 3G are redsn0w and purplera1n. I choose to go with redsn0w 0.8, although I later read that purplera1n is actually easier to use. So, keep that in mind.
I started by downloading the redsn0w app and then found the required IPSW firmware to match my device. In my case, I wanted the iPhone 3.0 firmware version 7A341. Using the guides at the above sites, you should be able to get the required firmware for your device. Again, make sure that you read all of the instructions carefully! The next step is to run the redsn0w application and follow the instructions. It took me a *long time* to get my iPhone into DFU recovery mode which was required in order to do the jailbreak. I found a helpful video on YouTube which explained it well. Once I managed to get the DFU trick down, I got stuck on a step which said “Waiting for reboot”. This took me another hour or so until I was able to figure out what was going on and how to bypass it. The trick is to quickly unplug the USB cable from the iPhone and plug it back in. My iPhone screen flashed white for a second and I was then able to get passed this step. From that point on, redsn0w did it’s thing and I just had to wait patiently for 5 minutes until the process was complete. I then had the Cydia application and the jailbreak was successful.
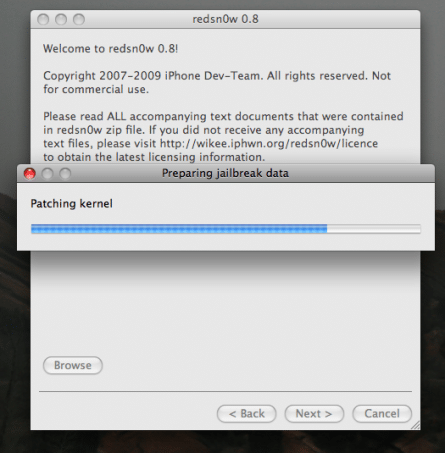
Once the IPSW has been successfully uploaded…
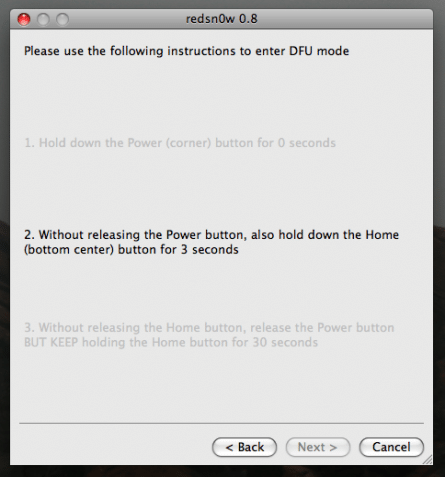
This step puts the device into DFU Recovery mode.
Cydia is the gateway to all of the unofficial applications and tools which you can then install on your device. Some of the most popular applications include: Qik (Live streaming video), PdaNet (Tethering), GV Mobile (Google Voice), OpenSSH (SSH access), Winterboard (Themes), Backgrounder (Background Apps), and 3G Unrestrictor (Unlock WiFi-only apps). These apps really make jailbreaking the device worthwhile. Check out some screenshots from my experience:
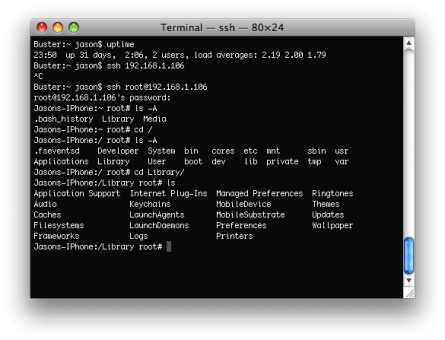
Using OpenSSH to access my iPhone.
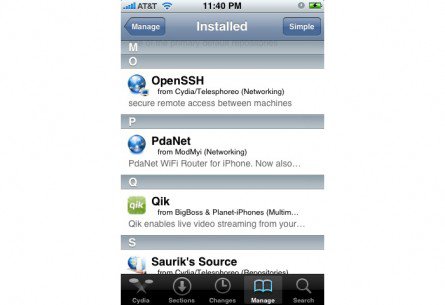
Cydia Installed Applications

Comments