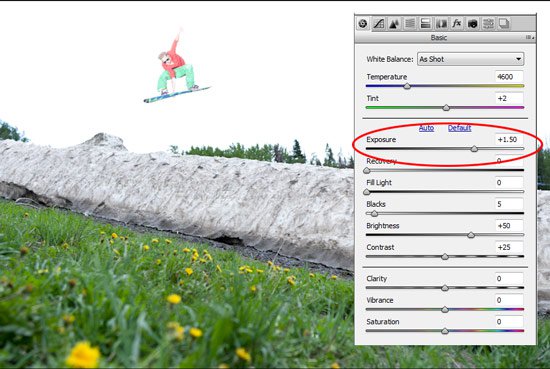
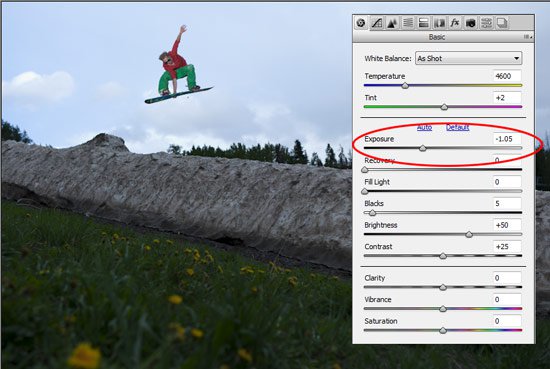
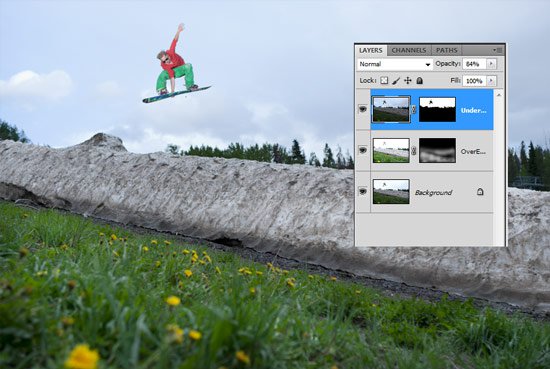
HDR images are created by combining few different exposures of the same photo in to one.The purpose of an HDR is to get a very wide dynamic range, meaning there is a lot of detail in both shadows and highlights. There are a couple different ways to create HDR images, and the best one involves taking three or more different exposures of the same scene. Sounds easy, but you have to use a tripod and everything must remain absolutely the same during the time of the three exposures. If we were landscape photographers that would've been fine, but we don't have this comfort and time when shooting action.That's why we are going to take a look at a different way to create HDRs. This method involves creating the HDR image from a single exposure file. You can do this only if you are using RAW files, because they hold more info than JPEGs. The idea is that you adjust the exposure of the photo in your raw converter and then you put together the best parts of the different exposures in to one final image. Using different techniques like masks, selections, etc.This is very useful when you have a blown out sky, or your flash was too hot. You can recover a lot of detail, but only to a certain amount. This amount is usually about 2 stops of difference from your original exposure. What you'll need to do is open the same file three times in camera RAW, and export an overexposed, normal, and underexposed version of the photo to combine in photoshop. Since this is an advanced tutorial we are not going in to details on how to export your photos, just export the same image three times. The first one should be the original, then move the exposure slider to about +1.5 or whatever looks good and export the image. Then export a third one with the exposure slider set to -1.5. Here's an article on exporting if you are using Lightroom.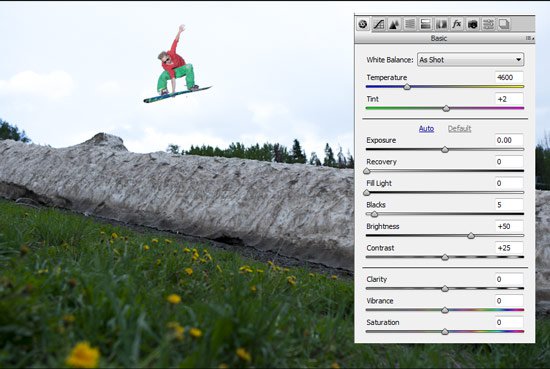


Comments