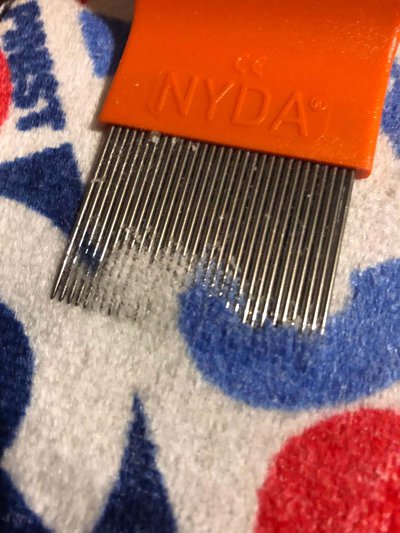
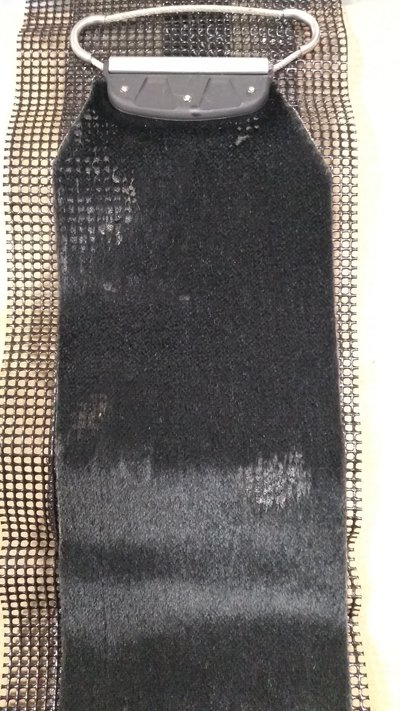
I purchased a used set of Black Diamond Ascension climbing skins that had numerous patches of glue on the ‘wrong’ or ‘plush’ side, either from not using the Skin Savers correctly and/or warm storage conditions. This made the skins noticeably slow, and I wondered if anyone had found a way to get it off.
Surprisingly, there wasn’t much information online. I noticed forum posts offered many suggestions—citrus cleaners and degreasers, solvents, parchment paper and a heat gun, flea combs, skin it off, give up and buy new—but no one had followed up on how the methods worked for them. Manufacturers don’t provide posted guidance either; see post #10 on the linked Teton thread for G3's response.
I decided to try two of the methods I came across: the flea comb and a solvent, acetone. Since no one reported online what chemical treatments would do to the plush, I planned to try the flea comb first and involve acetone second. That decision was made under the assumption the flea comb would be less damaging to the plush than acetone.
What ended up working was a combination of both. Find the procedure below:
You will need:
- Your skins (with Skin Savers attached)
- A flea comb (the finer the teeth the better)
- Technical-grade acetone (~ 250 mL)
- A clean paintbrush
- Shop towels (to clean up spills as-needed)
- A container for the acetone (e.g., a cleaned yogurt tub)
- Heavy-duty latex gloves (they cannot be nitrile)
- A half- or full-face respirator with OV (organic vapor) cartridges (if working inside)
- A method of ventilation with the outdoors (if working inside)
- A workbench/an area you are OK with being exposed to acetone
- Large paper bags
- Optional: skin wax (e.g., Glop Stopper by Black Diamond)
Estimated time of project: 0.5 – 2 hours, depending on the quantity of glue.
1. Place a large paper bag on the work area.
2. Place a skin (with a Skin Saver attached) on the paper bag, plush side facing up.
3. Ensure the orientation of the skin is such that the tip is towards your head, and the tail is towards your feet.
4. If working indoors, put on your OV respirator and open the closest window.
5. Put on latex gloves.
6. Pour ~ 250 mL of acetone into a container. Place container in the work area near the skins.
7. Soak the paintbrush in the acetone.
8. You will be working on a patch-by-patch basis to get rid of the glue.
9. Use the paintbrush to transfer acetone to the skin plush where there is a patch of glue. Cover all visible glue in the patch by gently dabbing the paintbrush on the skin.
10. Acetone evaporates at room temperature. You can apply more acetone if required at any point. More will not harm the procedure, but avoid getting acetone on the glue side of your skins.
11. Place the flea comb at a ~10° – 30° angle at the bottom of the acetone-saturated patch of glue.
12. Tip: avoid overhanging the edge of the skin with the flea comb as much as possible, to minimize plush loss.
13. Working against the grain of the plush, slowly and firmly guide the comb upwards toward the tip end along the plush. Take care to avoid scraping the bottom of the plush side of the skin, to minimize plush loss.
14. Tip: use two hands on the comb to keep it steady, one on each end.
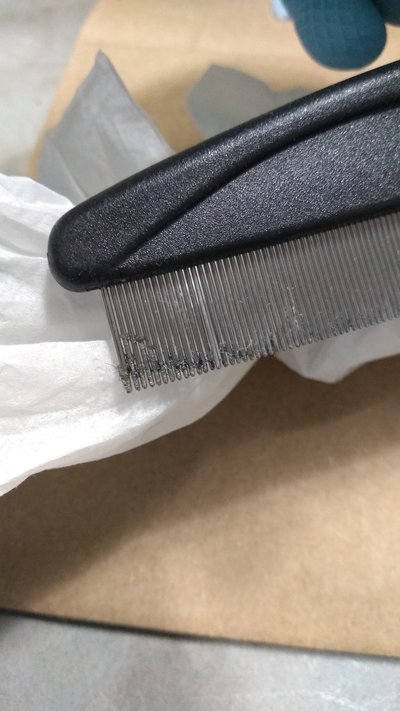
15. After a few passes, you will notice glue and plush hairs on the flea comb. Use the paintbrush and acetone container to clean off the flea comb as-needed.
16. It is important to regularly clean off the flea comb with acetone to not transfer glue back unto the plush.
17. Repeat until the patch is gone. Repeat for other patches.
18. Hang skins to let remaining acetone evaporate.
19. Dispose of used acetone according to local laws.
20. Optional: apply skin plush wax of choice to finish.
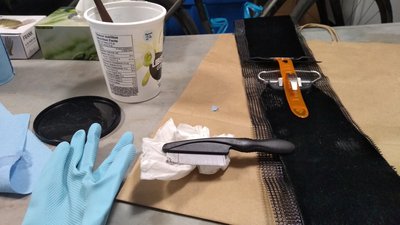
Here are some pictures. I am thoroughly impressed at how well this worked out. I think the combination of the acetone dissolving the glue and the lifting action of the flea comb is the key. Not to mention easy clean up with the evaporation of the acetone at the end. l lost some plush with the flea comb as I found the technique, but not in an amount you’d notice afterwards.
Skin 1, the tip end before:
The flea comb with glue on it:
The overall basement apartment setup:
The flea comb technique, notice the low angle:
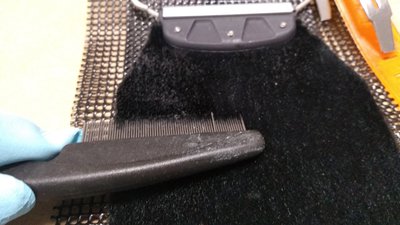
Glue and plush on flea comb:
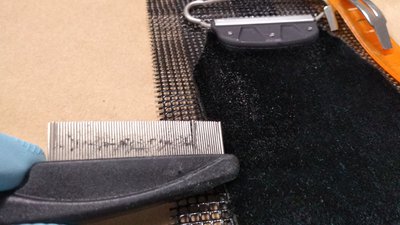
Skin 1, the tip end after:
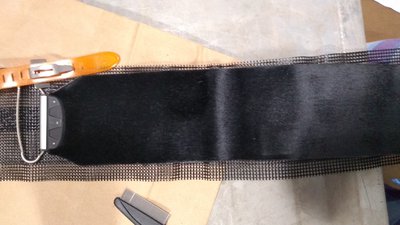
Skin 2, the tail end before:
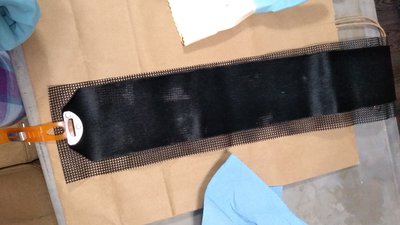
Skin 2, the tail end after:
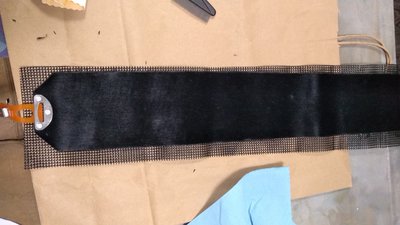
Two de-glued skins ready for wax!
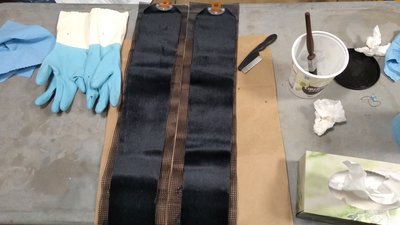
Hope this can help someone else and save some skins from the trash!
**This thread was edited on Apr 2nd 2023 at 1:17:58am


