Welcome to the Newschoolers forums! You may read the forums as a guest, however you must be a registered member to post. Register to become a member today!
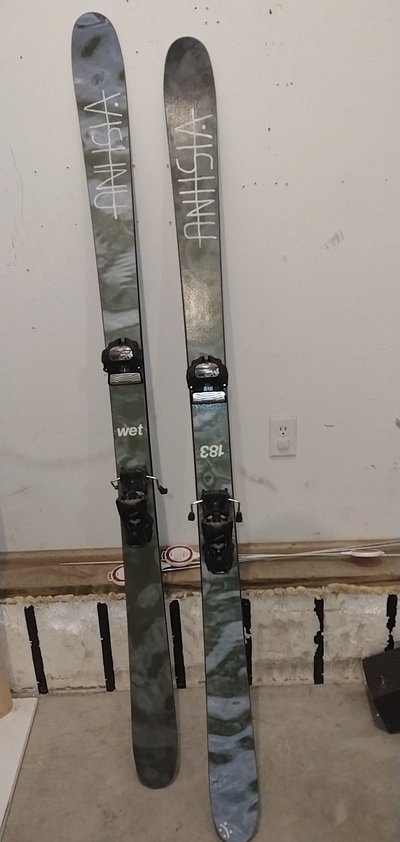
piss_boyDidn't mean to sound like I was just wining in this thread. Just wanted to see what people thought the shop should do
LippamaniYou think that's bad.
BradFiAusNzCoCaIt’s a big issue with sloppy techs. Luckily, it’s usually pretty easy to fix yourself. But OP, I wouldn’t touch it because that shop needs to help you out so you need to leave skis as you received them.
I complained to a shop about a base grind recently. Sent them an email and photos and just said “Hey I paid for a base grind. Can you fix the rest?”. They happily obliged. Mistakes happen. Techs are human.
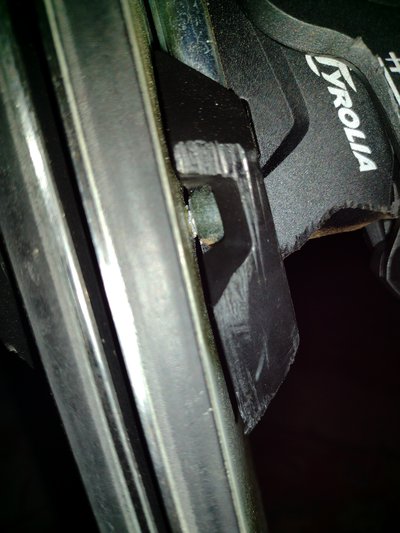
LippamaniThe problem is he glued the shit out of it so it won't move
piss_boy
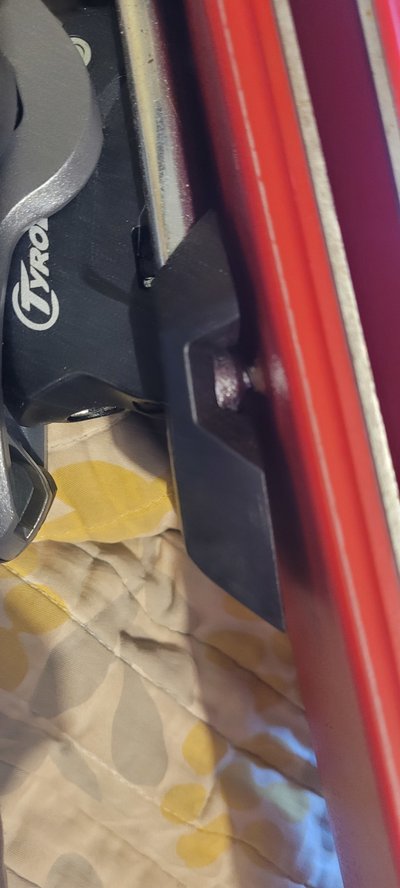
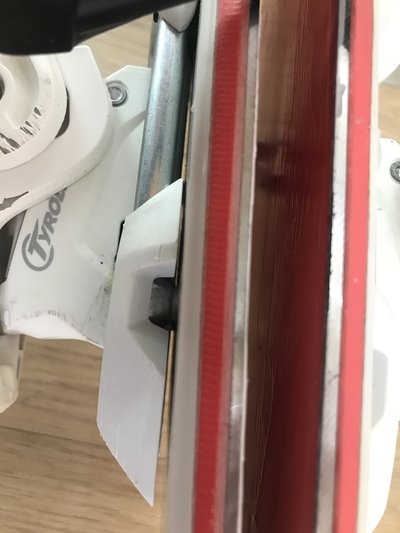
Pretty bad pic but the heel screws aren't tightened down
jjdsteezePicked up my skis yesterday. Headed back to the shop after work
SlidingIsFunIs that glue in the brake housing?
DensecloudsAre there any expert techs out there - perhaps someone from @Tyroliabindings that can answer this question about the slight rise in the heel piece?
I've also literally seen this on every pair of tyrolias i've owned, even when mounted by a reputable tech
DensecloudsAre there any expert techs out there - perhaps someone from @Tyroliabindings that can answer this question about the slight rise in the heel piece?
I've also literally seen this on every pair of tyrolias i've owned, even when mounted by a reputable tech
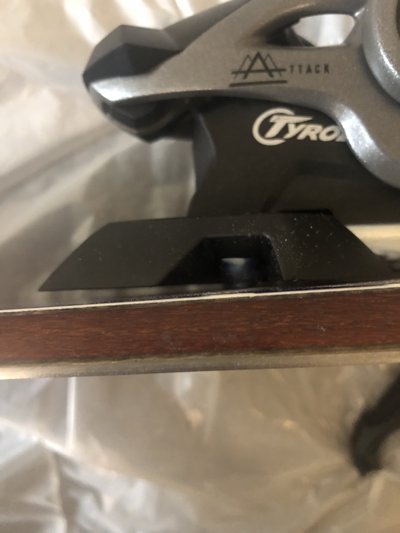
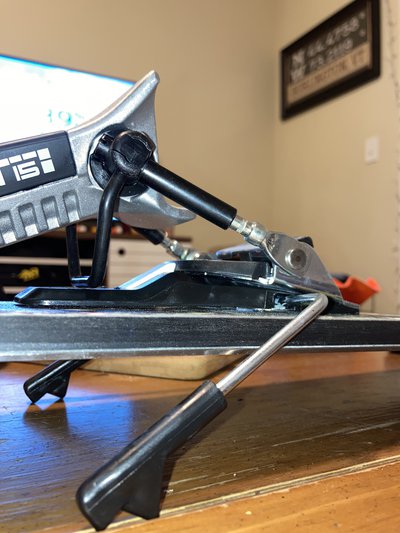
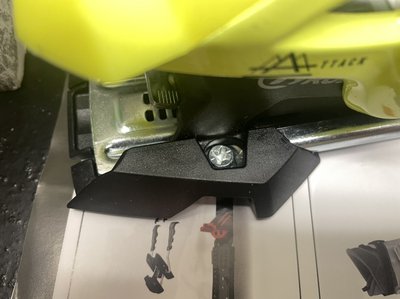
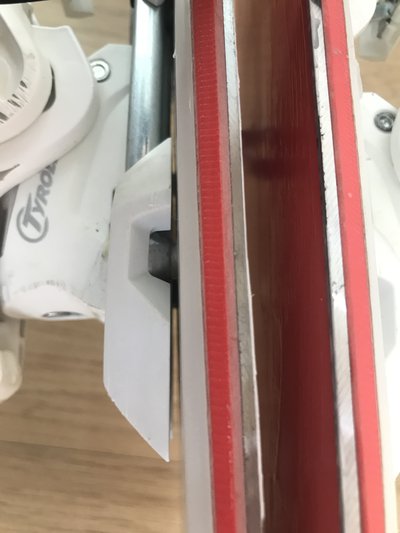
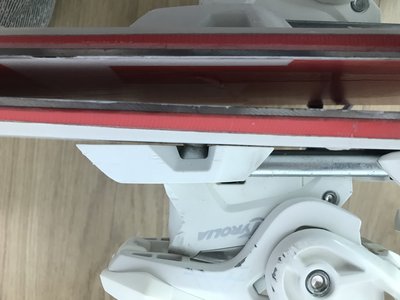
tdolloBasically it looks like it isn't flush with the topsheet because the screws are tightening down the main structure of the binding, and not the plastic casing surrounding it.
Even when the binding is mounted perfectly, the casing of many bindings (most notably Attacks) leave a ~1mm gap between it and the topsheet. Just bad design, and looks awfully similar to a shit mount.
I'm not a "binding expert", but i do my certs every year and mount skis erryday. so take it as you will
theabortionatorWhat's wrong with a wax? Unless it was spendy and a price thing. Just curious if you genuinely didn't want wax in general
piss_boyAt first I thought they charged us for it but they didn't so definitely nothing wrong with a free wax
theabortionatorWhat's wrong with a wax? Unless it was spendy and a price thing. Just curious if you genuinely didn't want wax in general
DensecloudsAre there any expert techs out there - perhaps someone from @Tyroliabindings that can answer this question about the slight rise in the heel piece?
I've also literally seen this on every pair of tyrolias i've owned, even when mounted by a reputable tech
DensecloudsAre there any expert techs out there - perhaps someone from @Tyroliabindings that can answer this question about the slight rise in the heel piece?
I've also literally seen this on every pair of tyrolias i've owned, even when mounted by a reputable tech
Greg_KWhen actually mounting to the ski, the screw will easily pull the metal track hole flush to the top sheet. Plastic should be pretty flush too but can vary a bit.
BradFiAusNzCoCaYou can see in person if the screw housing is flush with the ski, that’s the part that matters. The plastic always floats a little
Greg_KTyrolia also needs a PSA for properly adjusting AFD height as well as it’s rarely done properly either.
The tech manual describes “lifting the tip of the boot” before adjusting AFD height clearance but few techs seem to be trained to do that. You have to pull back HARD on the boot cuff to wheelie the toe to eliminate any slack and THEN adjust the AFD height.
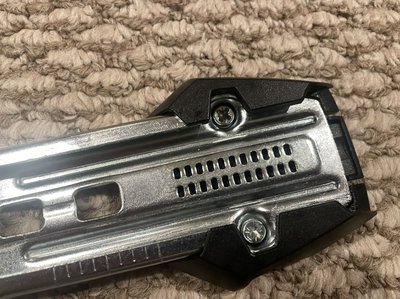
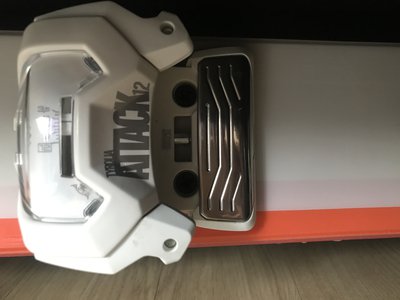
The one benefit of the Attack2 AFD is that it moves up and forward, so you can visually see if it’s low or not properly adjusted. The 2 screw heads in front of the silver AFD should be 1/3 to 1/2 covered by the AFD when adjusted properly. When adjusting Attack2 bindings, I raise the AFD until the screws are around 1/4 or so covered and then start testing with the boot in as I know it’s going to be at least that height.
The OP AFD is clearly low as well so that’s another thing that wasn’t done right on the job.
Should look similar to this.
Greg_K“Do these need a remount?”
Don’t need to be remounted, just a 30 sec adjustment on the AFD height on the toe and maybe a retry on those rear 2 screws on the heel. A Phillips would work in a pinch on the AFD height as there isn’t as much pressure needed on that screw to raise it up and then get the shop to redo those two rear screws if you don’t have the tools or don’t feel comfortable doing it. As you’ve seen on this thread, it’s pretty common issue.
I’ll repost the AFD adjustment as others may need it too.
You need to raise the AFD by turning the screw on the lower part of the front of the toe just up from the ski itself clockwise to raise it.
I usually raise the AFD so that it starts covering the screw heads above the AFD by about 1/4 before even starting to testing because I know it’s going to be at least that high.
Place the business or thin gift card over the AFD with it sticking out from the side enough to grab and then click the boot in. Now grab the rear cuff of the boot and pull it back HARD to “wheelie” the boot toe and eliminate any slack. Now test to see how easy it is to move that card under the toe. You want to move it high enough that even while pulling back on the rear cuff, the business/gift card is grabbing or resisting between the boot and AFD.
You usually end up being around 1/3 to 1/2 of that screw head covered after adjustment.
Warning-If you don’t feel comfortable with doing this yourself, get the shop to redo the heels but listing the needed steps to fix the issue at your own risk.
To fix the heel issue, you would need to slide off the heel(wider straight screwdriver twisting under the silver metal tab to lock it in the “free” position) and remove the 4 screws by hand with a Posi 3 screwdriver. Enlarge those 2 rear screws holes in the track(or at least work them a bit more with the screw), clean up the topsheet of glue residue etc and place new waterproof glue in all 4 holes. Now hand tighten them down with your Posi 3. Should now be much tighter to the top sheet.
In many cases, just hand removing the 2 rear screws(after working them up a down a bit so they aren’t catching anymore), adding new waterproof glue to the holes and then retightening with your Posi 3 will get them tight to the top sheet.
Slide the heel back onto the track until it hits the raised heel of your boot in the binding and then snap the silver lever down so it clicks into the notch. Click into the binding and make sure the heel corner is lining up within the scribed area for proper forward pressure.
OFF3P
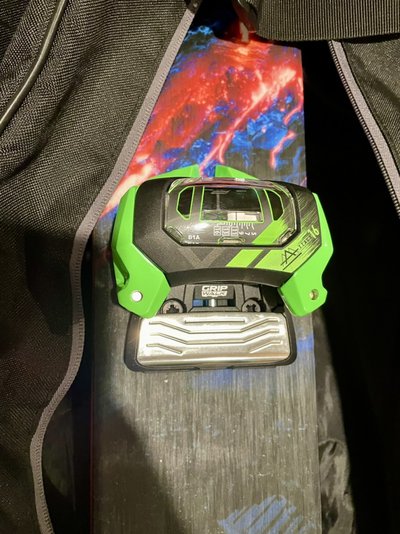
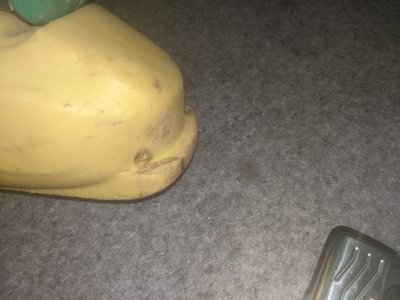
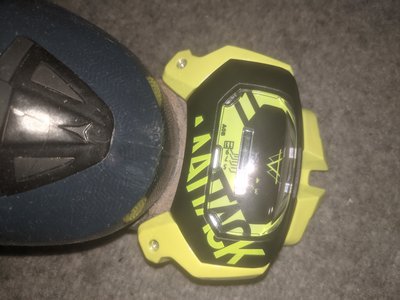
I am trying to put the yellow boots with the attacks but the toe part of the boot is so rounded out all around that I feel like the binding is only keeping the boot in from the side. The other boots are my brothers and since they are still newish they have a flat top that fits snug in the binding. Am I buggin because I've never had a wide binding before or will this work. Just wondering because there's no lip at the top of the binding. I hope this is understandable
mystery3That yellow boot looks shot. There is a minimum spec for thickness on the toe in order to operate properly. How old are those boots?
OFF3P10 year old dropkicks lol they prolly got like 500 days the bottom is like cambered from all the walking
skiermanlol way to ruin your boots, you dumb fuck.