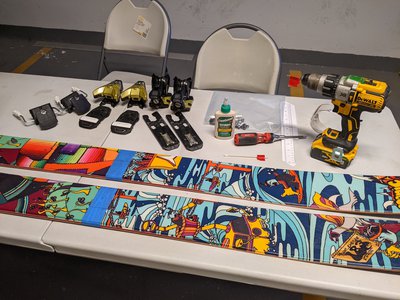
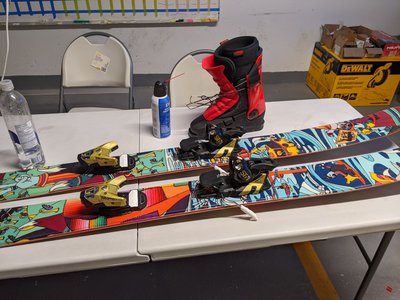
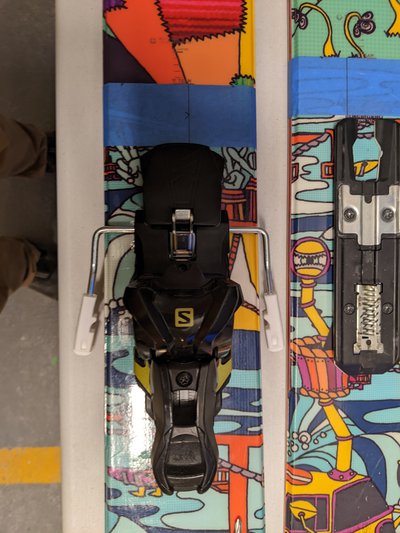
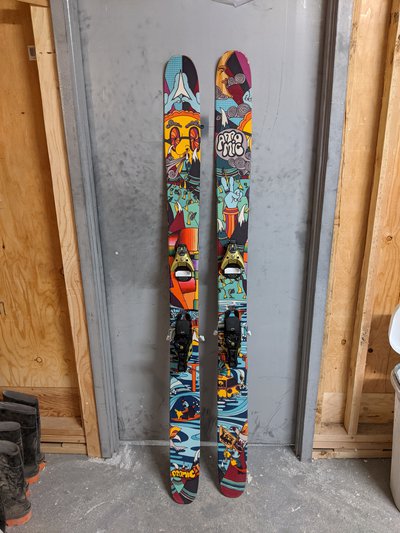
Part 1: Measuring on my lunch break.
Started taking photos after step 3, but re-creating to show my process.
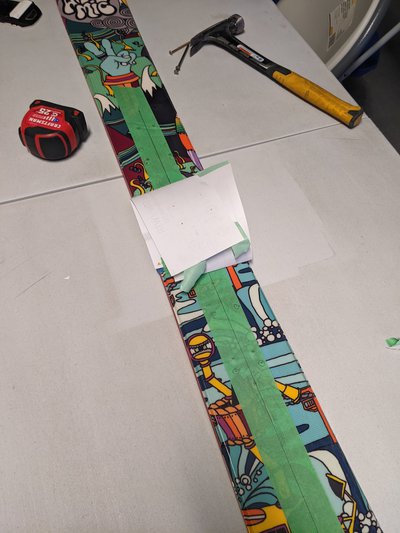
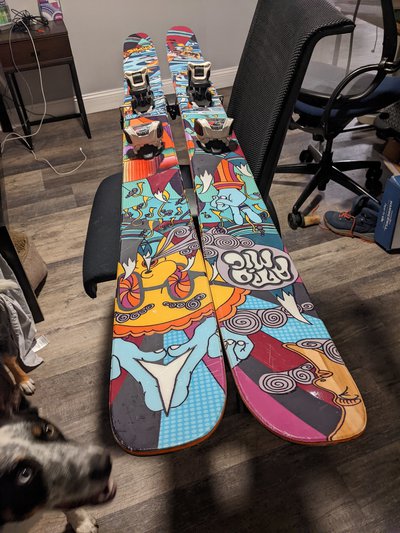
1) I measured tip to tip to find true center, luckily the graphic line was perfectly lined up with my measurements so I measured back from there to the Team line at -2.5cms.
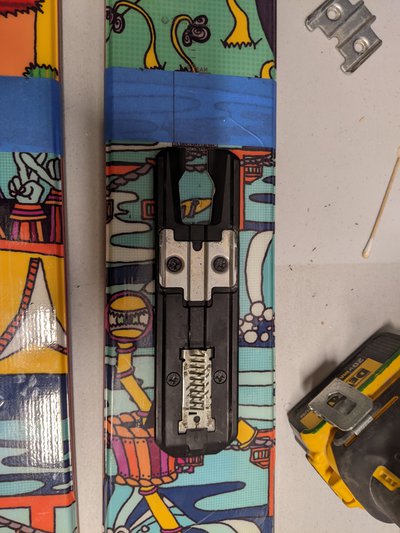
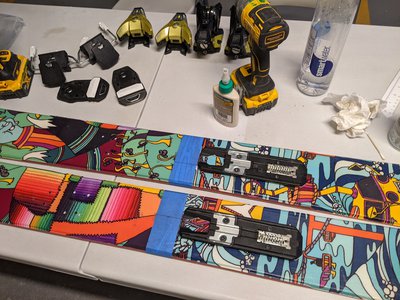
1.5) (Probably skip this step) I wrapped a piece of blue masking tape so the top line of the tape was in line with my mount line.
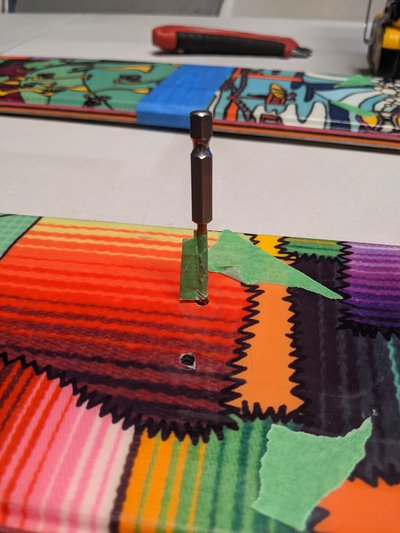
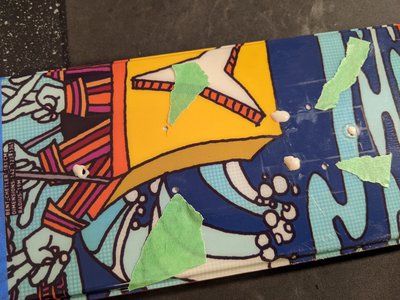
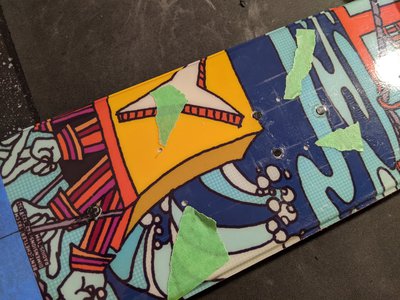
2) Then I laid out a piece of green tape approx centerline of the ski to mark on later.
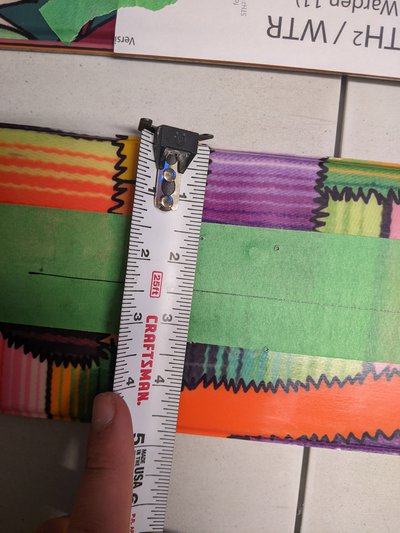
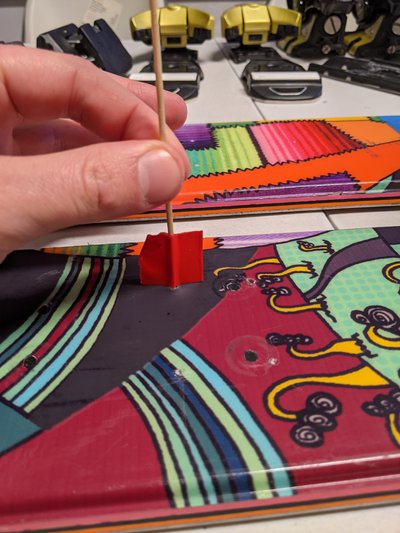
3) Using a tape measure and speed-square, lined up the 1" mark to one edge and holding the tape so no movement, flipped the square over to get the width dimension. (Tried to keep the tape perpendicular to the ski) Photos look a bit wack, but its a re-creation one-handed.
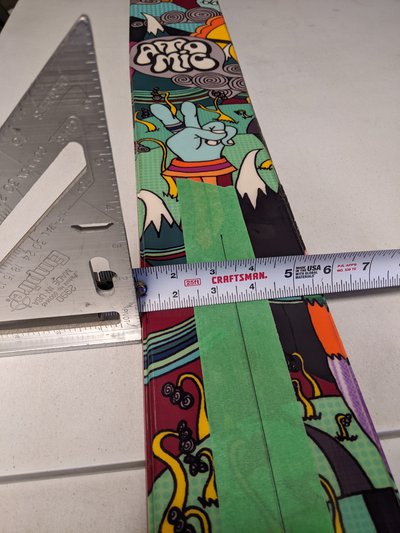
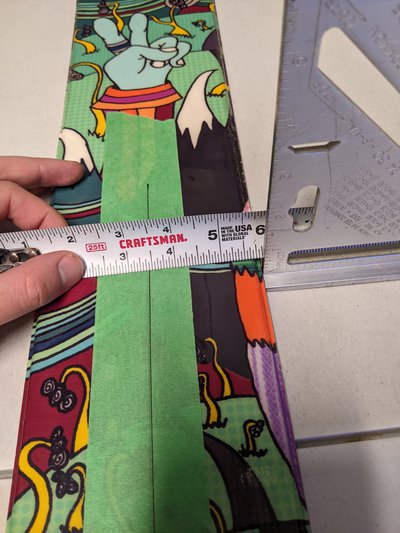
4) Took the full width, divided by 2 and mark with pencil.
5) Re-checked by measuring with a tape to my mark from both sides edges.
6) Did this 3 times on each ski, one around mount line and 2 towards tip and tail, past where my bindings should end by a few inches.
7) Re-checked all my marks like 6 more times, Within my tolerances.
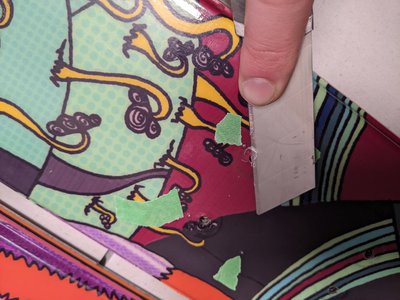
8) Used this piece of metal I had at work to mark a straight line down through my 3 marks. You might be able to use a ruler or something more reasonable but I liked this metal plate.
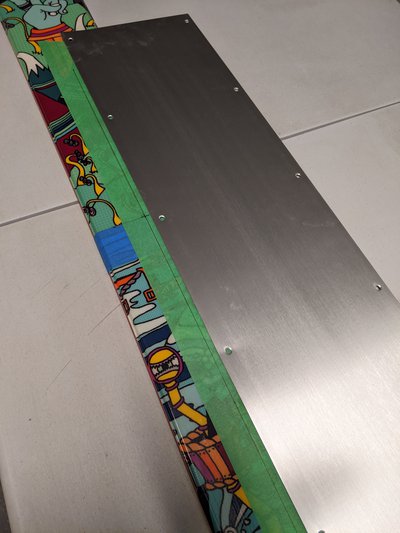
9) Had some coffee. Was my lunch break after all.
10) Printed out a STH2 Template I found on TGR (Reminder to not just pick the ones on the first page of their mount as some are out of date - aka the Salomon one). Took 30 seconds of digging. **Took three prints to figure out how to COMPLETELY turn off scaling to the paper, had to run it through Bluebeam print to remove it completely. Windows made this more difficult than it should have been (Default scaling is not 'no' scaling)
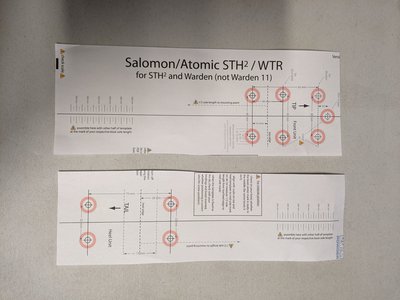
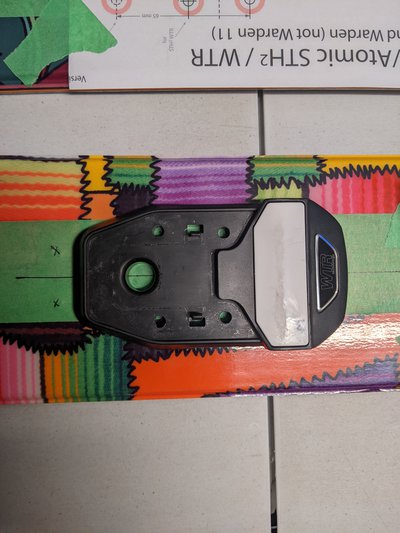
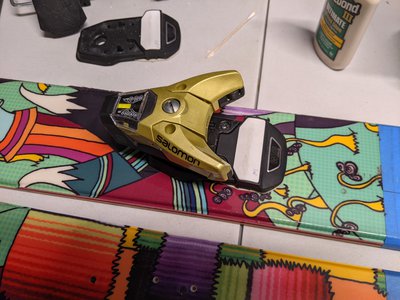
11) Checked template with ruler and physically putting the binding pieces on the marks to see the centerline in the holes.
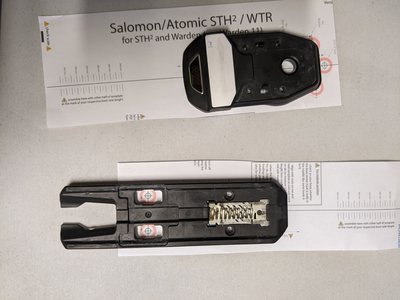
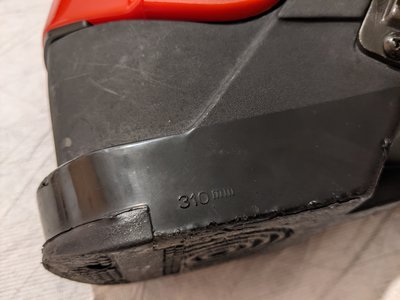
12) Brought my boot to work so Grabbed the BSL right off the boot.
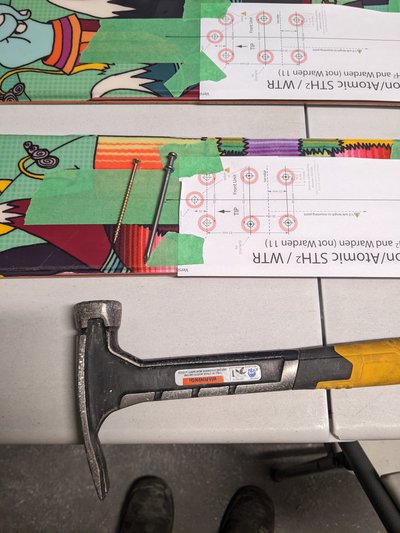
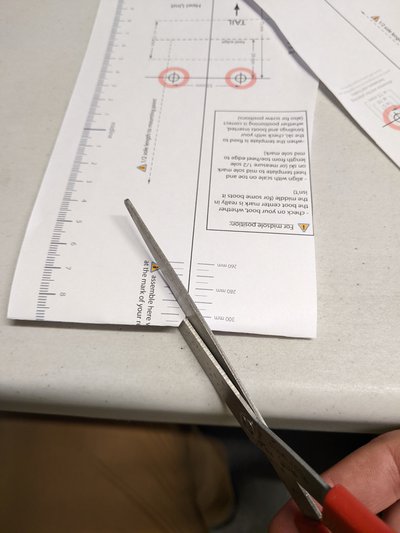
13) Folded the paper templates at the 310mm mark and used some scissors to cut a small triangle window.
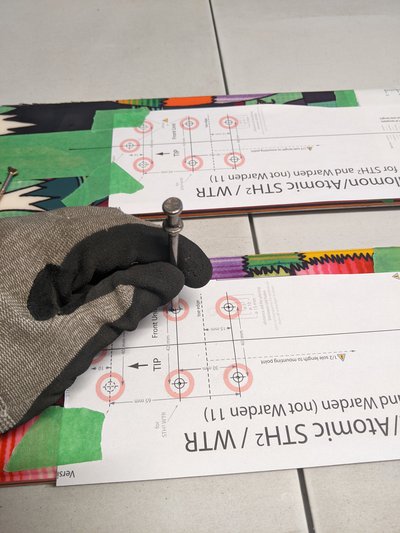
14) Unfolded the back template and put the window right over the mount line on my skis, lining up the centerline as well. When its all nice and true, taped it in place.
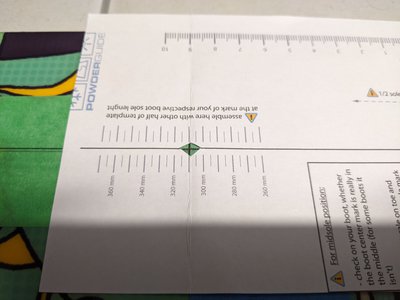
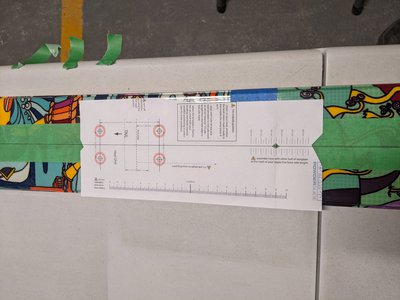
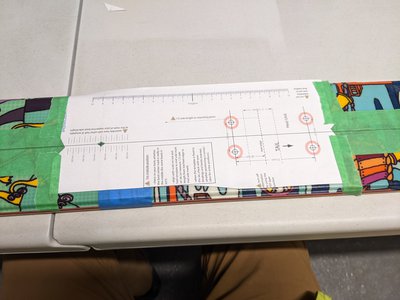
15) Repeated with the front template, putting the window over the first to see the lines below. Taped in place.
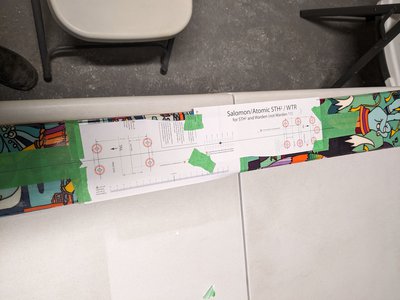
16) Another repeat with the second ski.
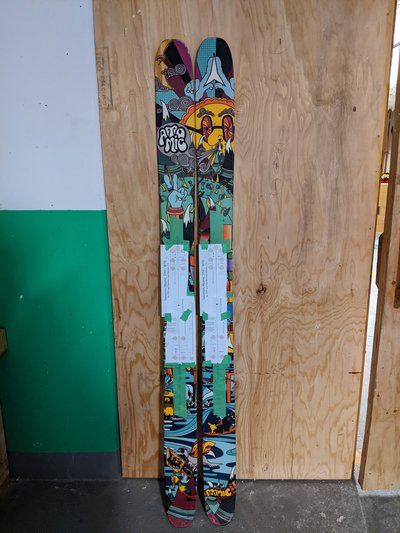
17) Measuring done, little over my 30 min break.
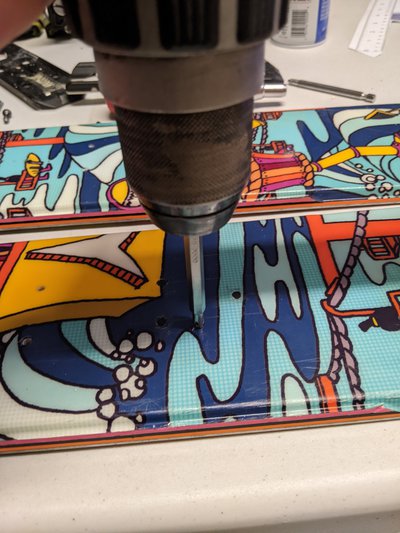
Part 2 when I mount maybe after work today if I can find my screwdriver, otherwise tomorrow.
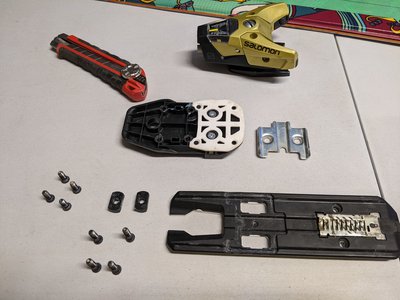
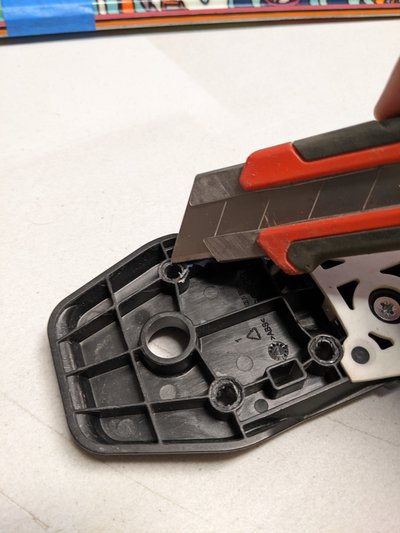
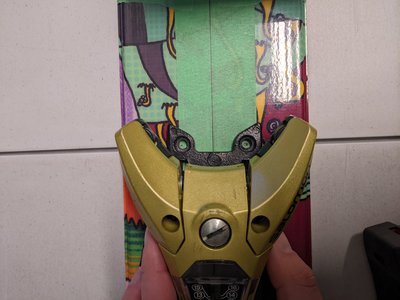
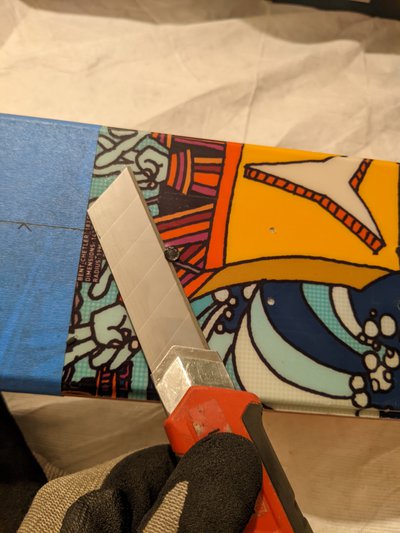
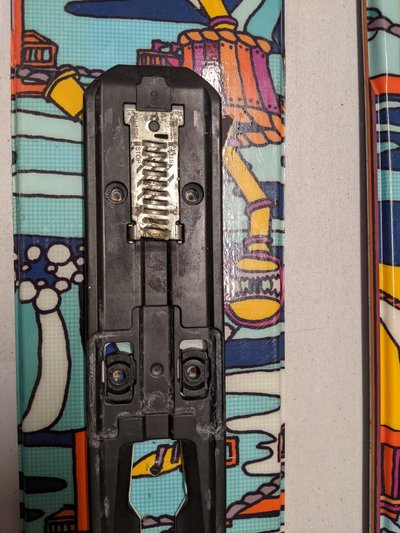
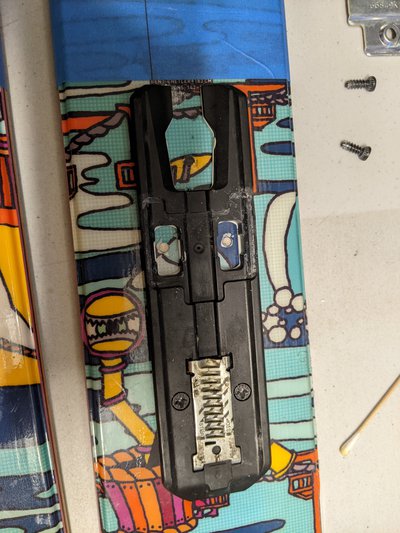
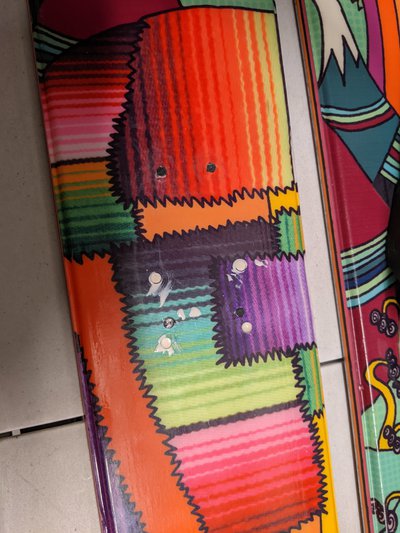
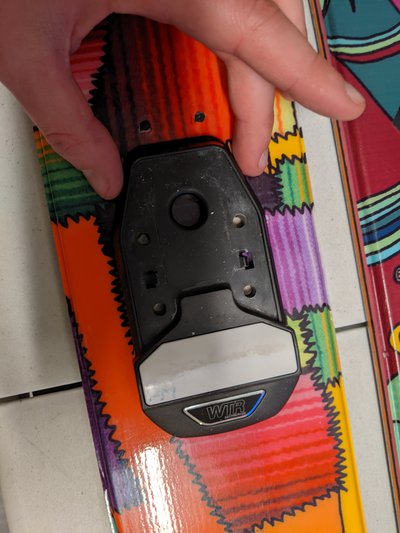
Bonus: On coffee break I took an OLFA knife and trimmed off some old glue residue on the binding plates and screws, just so they're a little cleaner and ready for re-use.
