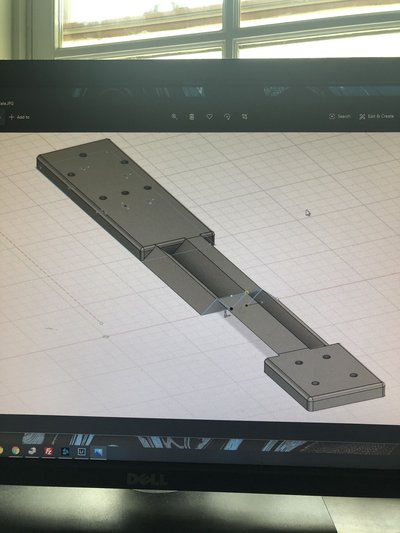
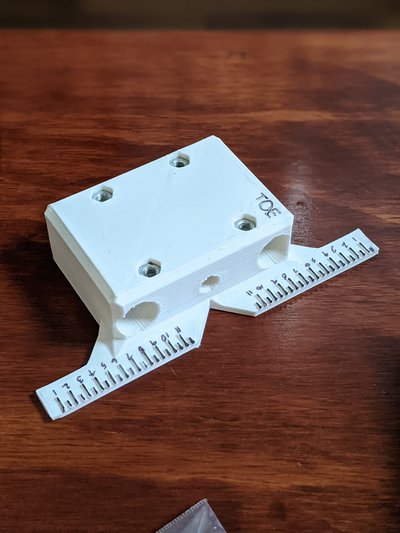
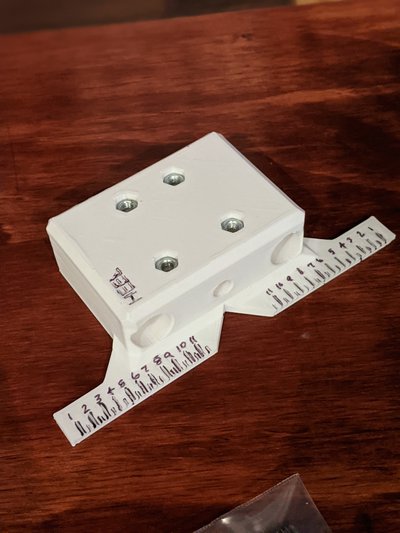
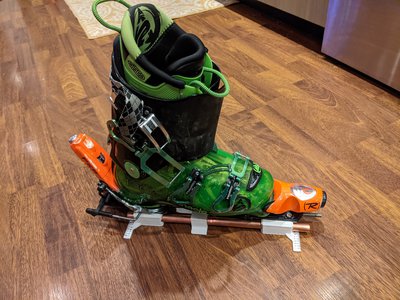
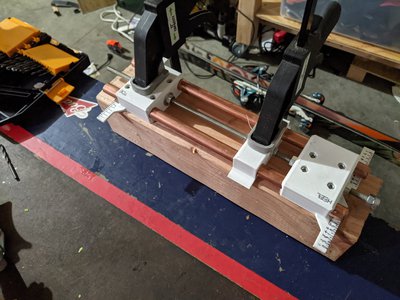
There are three 3D printed pieces. The heel piece jig, midsole finder, and toe piece jig. The prints took about 14hrs total and maybe 1.5 hours of design work. It works with a long threaded rod down the middle that moves the upper plate of the jig forwards and backwards. The copper rods hold the entire jig straight and allow the jig to move forwards and backwards. I used a 5/16's 3ft threaded rod, and two 2ft 1/4" copper tubing. Total cost was around $15.
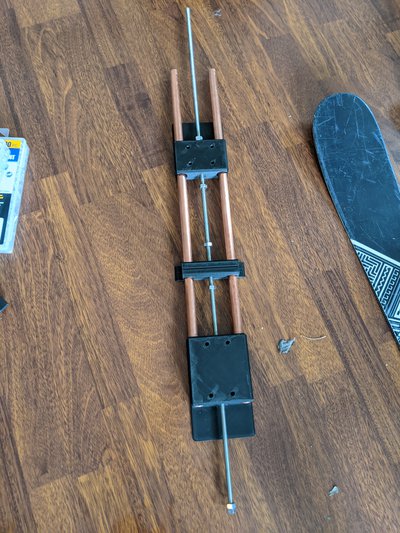
The hole pattern was measured off of the STH's with a pair of calipers. In hindsight I should have photocopied the bottom of the binding to get more accurate measurements.
First, you mount the bindings on the jig using some nuts and bolts. Then you turn the threaded rod until you get the correct size for your boot and then click your boot in. Then you lock the toe piece from moving with a couple of nuts that are on the rod.
Then you slide the middle piece so that it is lined up with the midsole of your boot, then lock it in with a couple of nuts. This part is just done by eyeballing the mark on the piece with your boot.
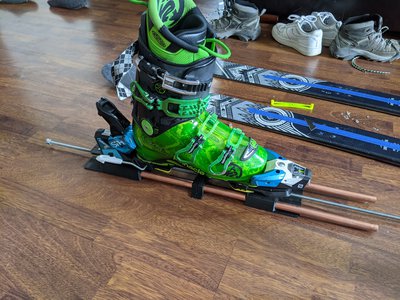
After the length and midsole are locked in place, you take the boot out and put the jig over the top of the ski. Next draw a centerline down most of the ski length wise on some tape using a center finder. Line up the midsole piece with how far back you want to mount. Then line up the dashes on the ends of the jig with the centerline. Hold the jig down then drill/pencil in some marks.
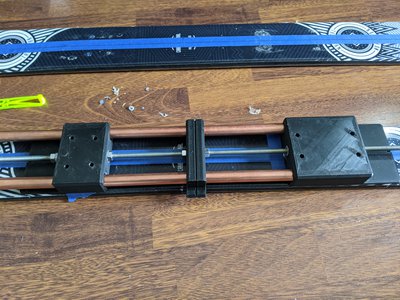
Now the ski can be fully drilled and mounted.
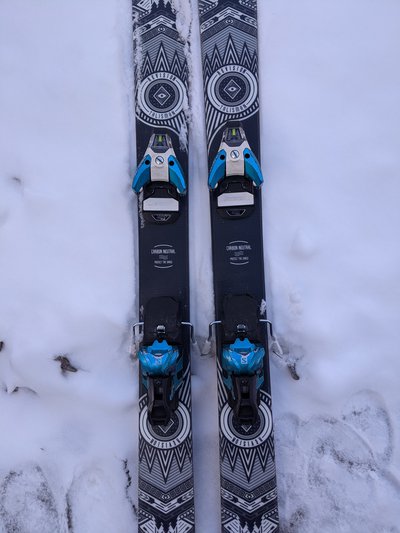
The mount turned out good except for the fact that one of the bindings has about a 0.5 degree angle to it. I haven't skied them yet, but I don't see this as being a huge issue.
Some improvements would be a better way to find the midsole of the boot and the center of the ski, and also a better way to clamp it down.


