4. Fitting Skis Together
With this step it is very important that you move along slowly and carefully. If not, you could make one ski too short.
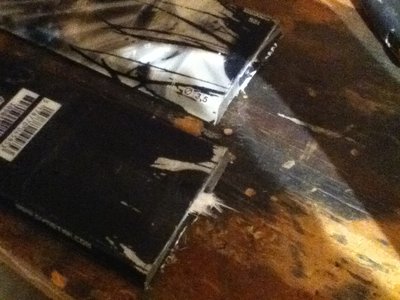
One at a time, lay each ski segment under the boot like you did in the previous step and cut them off about an inch short of the end of the boot. This eliminates the excess ski that will get in the way if not removed.
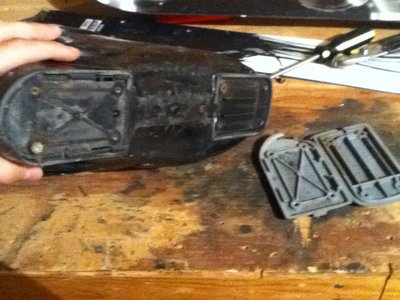
Measure the distance, front to back, between the screw holes in the bottom of your boot. Lay the two ski segments on top of eachother and make sure that the distance between the holes we drilled matches the distance between the holes on the boot perfectly.
Tape the two segments together solidly so they don't move.
Just using your eyeball, mark a line on the top ski where the two segments are the same width. Because the bottom ski is covered, mark the line on the sides, remove the tape and top ski, then mark the line. These lines are roughly where the final cuts will be made and where the two segments will be butted together.
Unless the skis you used have a parallel sidecut, the final buttjoint will not be in the middle of the mini-ski. Don't worry about this.
Next, cut both segments so that there is some room to work with in front of the line, anywhere from 1/2" to 1" long is good.
Screw the front segment of the ski to the bottom of the boot. Put the screws in the back segment, but don't screw it to the boot. Use the screws sticking out to align the back segment with with holes in the bottom of the boot. Look at how much you need to cut off of each segment, then cut it. Cut back little bits at a time, approaching the marked line, until the skis fit together well with the holes aligned. DO NOT RUSH THIS STEP, TAKE YOUR TIME.
Remove screws from both segments when done.
5. Prepping and Gluing the Buttjoint
Using a boxcutter or other small knife, rough up the two surfaces of the segments that will be butted. This gives the epoxy more surface area to grab on to and will make the joint stronger.
Mix up the two-part epoxy. I used this stuff called JB Weld.
Spread the epoxy on the joint, then butt the two segments together pretty hard. Don't press too hard though or you'll squeeze all the epoxy out of the joint. Clamp down the mini-ski to a solid surface.
PROTIP: Put a strip of tape under the joint so you don't glue the ski to the table.
The JB Weld takes a full day to set. Let the epoxy set completely before doing any more work.


