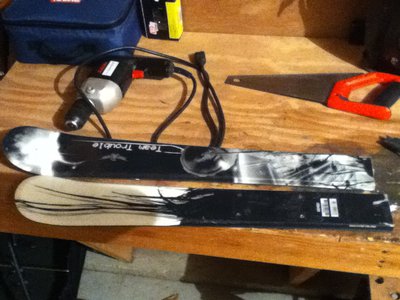
We've all heard of Sled Dogs, those skis from the 80's that were basically a boot with some base material on the bottom. And we've all wanted to own a pair, right? Well this tutorial shows you exactly how, without having to shell out a few hundred dollars for the modern ones.
--------------------------------------------------
You need a few things to start out.
1. Pair of old or unwanted skis
2. Pair of old or unwanted boots
3. Drill bits and a countersink
4. A strong two-part epoxy
5. 20 ¾” wood screws (the kind with the inverted-cone-style top)
If you already have the boots and skis, it shouldn't cost you more than about $10
--------------------------------------------------
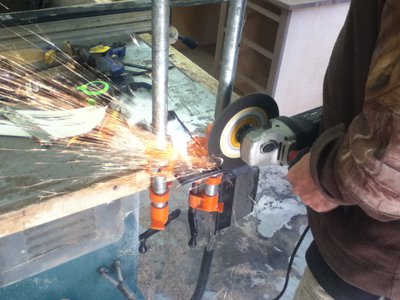
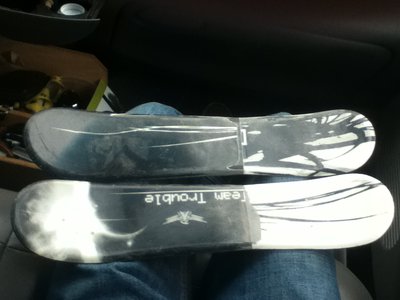
1. Cut the Skis in Half
This doesn't need to be done to any exacting standard, just cut them near the middle. You can do this with either a hacksaw or a grinder, although the grinder will get the job done about a trillion times faster. If you do decide to go the hacksaw route, be aware that cutting through the hardened metal edges will be extremely difficult. If you use a grinder, make sure you know whether the skis are wood or foam core, as a wood core will clog up your grinder wheel (this problem is easily fixed with a wire brush though).
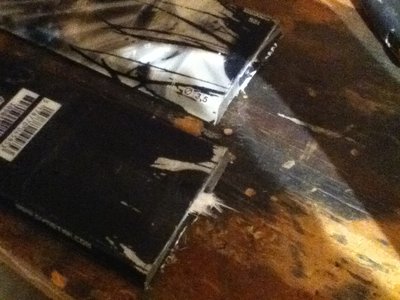
Watch out for fiberglass bits. "Once it's in it never comes out."
2. Remove Baseplates from Boots
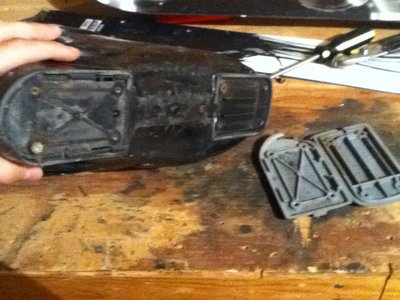
This step is pretty straightfoward. Just remove the screws holding in the baseplates on the bottom of your boots.
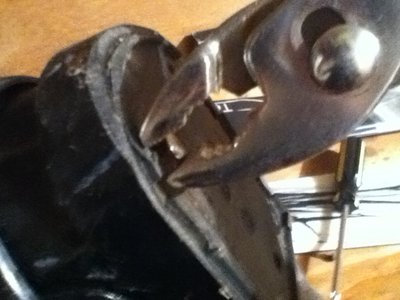
If you have a troublesome, worn down screw like I did, just cut the baseplate off around it (we won't be needing these) and use a pliers to twist out the screw.
3. Initial Layout and Drilling of Your Mom. Just kidding. Drilling of the Front Ski.
This step gets a little tricky, especially if you're a perfectionist like me.
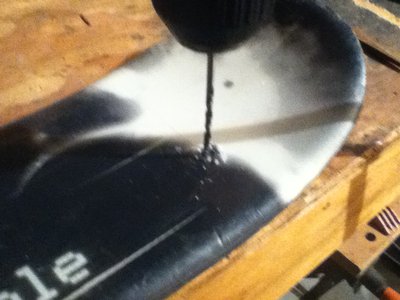
Lay the boot on top of the front half of the ski until you like how it looks. Carefully lift up one side of the boot until you can see the screw holes, then mark them on the ski with a straight line all the way across the topsheet. I used a boxcutter, but a sharpie or even pencil would work fine, as long as you can see it.
Now that you have your line, use a ruler to find the width of the ski and mark the very center of it. Now to the boot. Measure the distance between the center of the screw holes, then mark out that same distance on your skis (be sure to center it), and place a dot of sharpie on the spot. This is where we’ll be drilling the holes.
Repeat the same process with the back ski, laying it out, marking it, and drilling the holes. The only difference is that you use the back of the boot to lay it out, obviously.
4. Fitting Skis Together
With this step it is very important that you move along slowly and carefully. If not, you could make one ski too short.
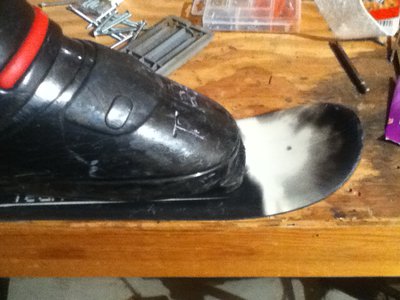
One at a time, lay each ski segment under the boot like you did in the previous step and cut them off about an inch short of the end of the boot. This eliminates the excess ski that will get in the way if not removed.
Measure the distance, front to back, between the screw holes in the bottom of your boot. Lay the two ski segments on top of eachother and make sure that the distance between the holes we drilled matches the distance between the holes on the boot perfectly.
Tape the two segments together solidly so they don't move.
Just using your eyeball, mark a line on the top ski where the two segments are the same width. Because the bottom ski is covered, mark the line on the sides, remove the tape and top ski, then mark the line. These lines are roughly where the final cuts will be made and where the two segments will be butted together.
Unless the skis you used have a parallel sidecut, the final buttjoint will not be in the middle of the mini-ski. Don't worry about this.
Next, cut both segments so that there is some room to work with in front of the line, anywhere from 1/2" to 1" long is good.
Screw the front segment of the ski to the bottom of the boot. Put the screws in the back segment, but don't screw it to the boot. Use the screws sticking out to align the back segment with with holes in the bottom of the boot. Look at how much you need to cut off of each segment, then cut it. Cut back little bits at a time, approaching the marked line, until the skis fit together well with the holes aligned. DO NOT RUSH THIS STEP, TAKE YOUR TIME.
Remove screws from both segments when done.
5. Prepping and Gluing the Buttjoint
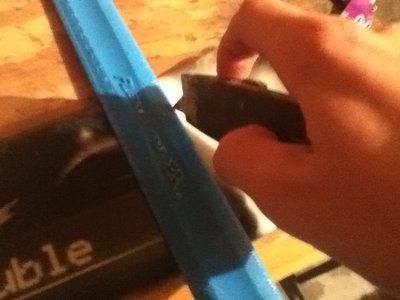
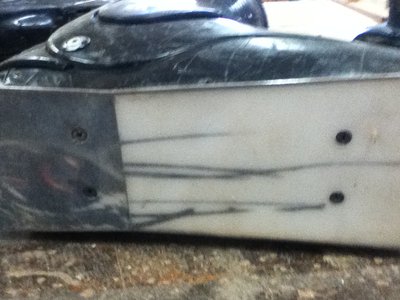
Using a boxcutter or other small knife, rough up the two surfaces of the segments that will be butted. This gives the epoxy more surface area to grab on to and will make the joint stronger.
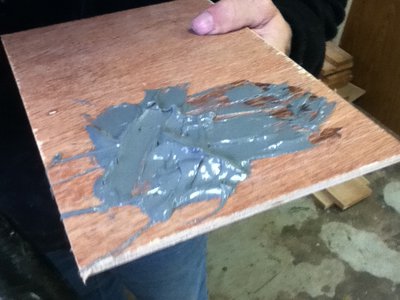
Mix up the two-part epoxy. I used this stuff called JB Weld.
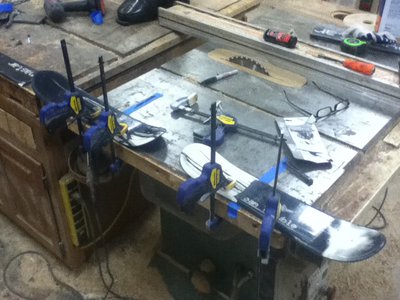
Spread the epoxy on the joint, then butt the two segments together pretty hard. Don't press too hard though or you'll squeeze all the epoxy out of the joint. Clamp down the mini-ski to a solid surface.
PROTIP: Put a strip of tape under the joint so you don't glue the ski to the table.
The JB Weld takes a full day to set. Let the epoxy set completely before doing any more work.
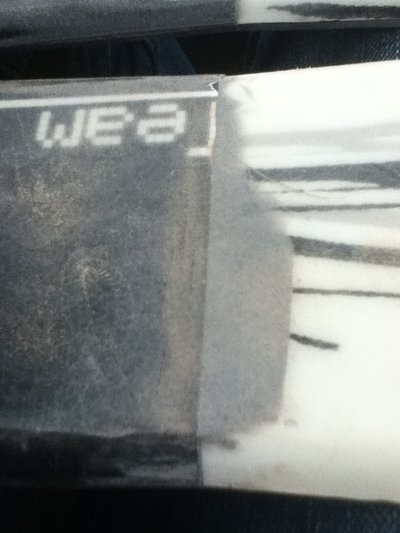
After it's set, remove the clamps and sand off the excess epoxy. It may also be necessary to sand the edges so they line up perfectly.
Finished mini-skis.
6. Attaching Mini-Skis to Boots
We're on the finishing stretch here guys.
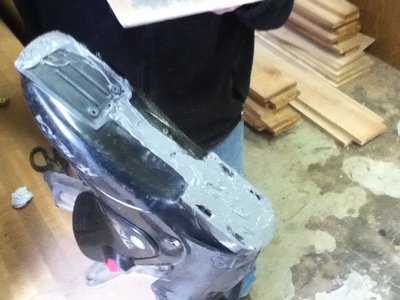
Make sure that the bottom of the boot is completely flat, as the epoxy on its own is not strong enough to support the weight of the rider when hitting a rail or other high-stress feature. It's okay if there are small holes or gaps, but don't let anything stick out and make sure that the surface underneath the buttjoint is solid. I had to hold my boots to a belt sander to remove some pieces of plastic sticking up. If you don't have a sander, cut pieces like this off with a razor blade or file.
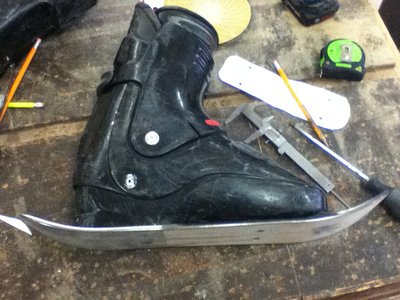
Screw the mini-skis to the boots, double checking that they fit and that your screws don't poke through the boot and stab you in the foot. Remove the liners to check this.
Remove the mini-skis from the boot.
We're going to need some more epoxy. Apply it to the bottom of your boot evenly, making sure to spread an ample amount. All we have left to do now is screw the mini-skis to the boot and wait for the epoxy to dry.
After the epoxy is dry, use the extra screws and shoot them through the ski, two on each boot, about an inch away from the butted joint on either side. Make sure you pre-drill the holes so you don't accidentally split the ski. This adds a little more strength to the whole thing.
Here's your finished product guys, hope you liked it. If you make your own post pics for +K.
Have fun.


