Film Burns with Adobe Premiere Pro
Written By: Burr
When I was editing, I wanting
to use a burn in my time line, but as I am shooting for a hobby with no budget,
I could exactly shot real film to achieve my burn. So this little tutorial is
about how to make a simple film burn, free and easily with very little effort,
but the results are quite effective.
Step
One.
Browse through this website (www.fotosearch.com) and find a stock burn you would like to use. (Easiest way is to use a search bar). Best choices are one with as little as black as possible, as this will need to be keyed out, which I will show you later in the tutorial. But for now chose a burn that suites your footage, and download the free sample. Fotosearch.com is really handy for other stock photography as well, with maybe useful in your low budget projects, so have a look around.
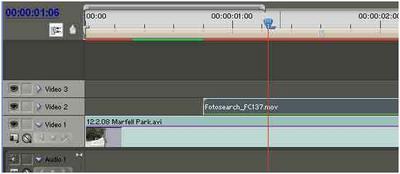
Step Two.
Once you have found your burn and extracted it, import it into your project. Drag it into your time line into the video column above the clip you want the burn to be on.
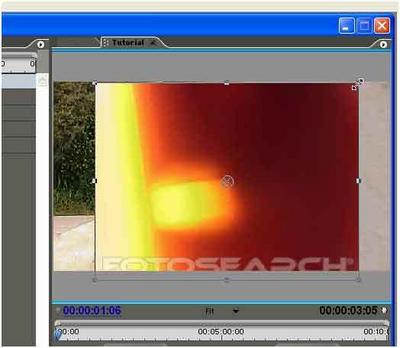
Step Three.
Resize the clip so that the water mark has been cropped off the screen. Do this by selecting the clip and the dragging out the corner in the preview screen.
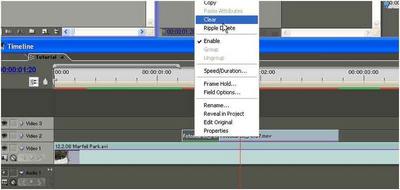
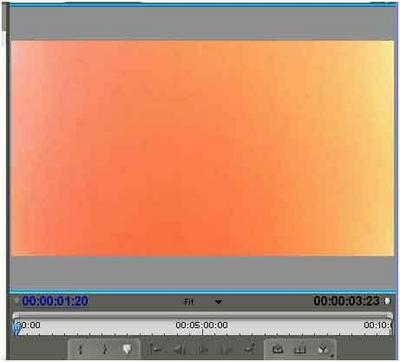
Step Four.
Now you should have a preview screen, full with burn and watermark cropped. Now cut the clip to shorten to desired length of burn and arrange on time line where you want burn the start on the footage.
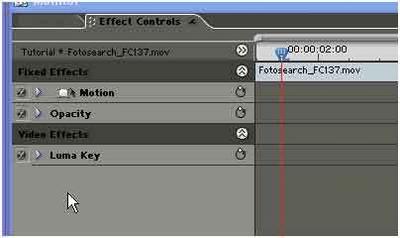
Step Five:
Navigate into effects>Video effects>Keying. You should see the effect in that bin called “Lama key”, apply the effect onto you film burn clip by dragging it onto the clip. Now navigate to your effect control tab, which by default is in your monitor window. You will now see the Lama Effect applied to you film burn clip.
You will notice now that your film burn has now gone slightly transparent in your preview screen.
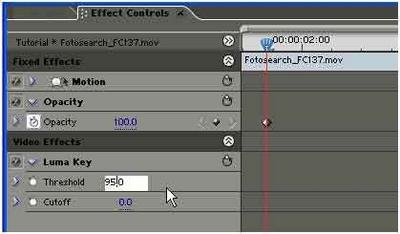
Step Six:
Adjust the threshold setting of the lama key in the effect control tab to around 95% (Or what you think suites your footage)
For further adjustment you can play with this setting, and also use the opacity setting of the burn clip.
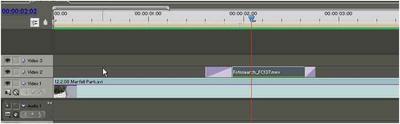
Step Seven.
To finish off the burn, it’s nice to add and addictive dissolve to the start of the burn and a cross dissolve to the end. My addictive dissolve was .7 of a second long and cross dissolve was .2 second.
Step Eight.
Well, you’re are done, render clip and see how it looks. Just play with the Lama and Opacity to lighten or darken burn.