It looks like you are using an ad blocker. That's okay. Who doesn't? But without advertising revenue, we can't keep making this site awesome. Click the link below for instructions on disabling adblock.
Welcome to the Newschoolers forums! You may read the forums as a guest, however you must be a registered member to post.
Register to become a member today!
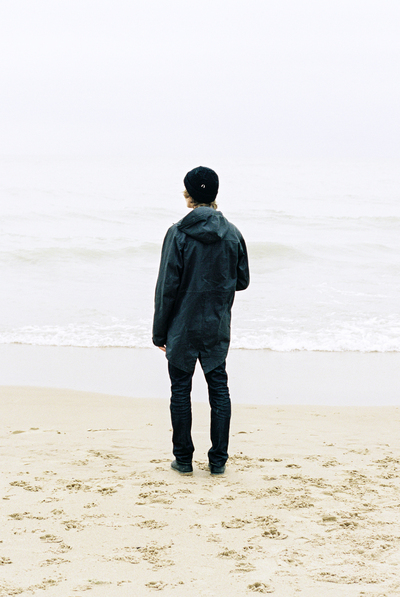
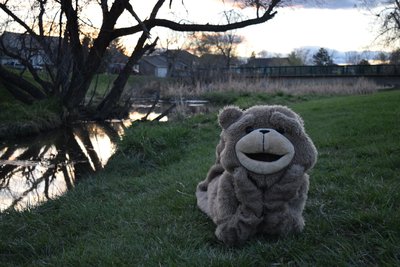
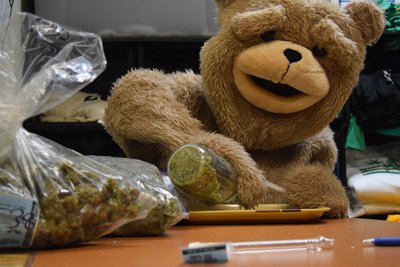
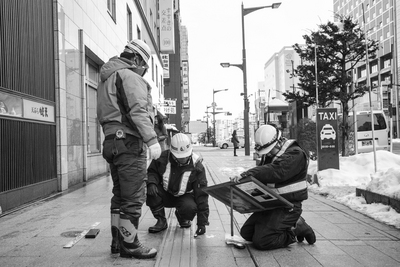
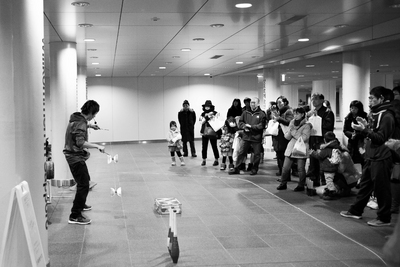
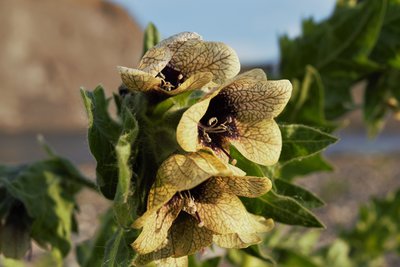
There's a bunch of others photos in it. It's my first series but pretty much it's just a bear looking for someone to love it again hahah. There's tons of shots of it doing kinda childish activities and adult activities alone like playgrounds, climbing trees and even drinking alone in a bar.
Yo im a sneakerhead so I understand, but most people on this site are all artsy and shit especially in the media and arts section so this isnt the place for that.
T-Lan_DistrictYo im a sneakerhead so I understand, but most people on this site are all artsy and shit especially in the media and arts section so this isnt the place for that.
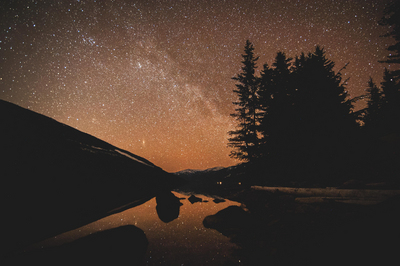
I know the quality nor color were the greatest for this one but does anyone have any thoughts on composition? What could have I done to make these better?
JGWII know the quality nor color were the greatest for this one but does anyone have any thoughts on composition? What could have I done to make these better?
Going to give a bunch of advice, but don't worry since you are off to a good start. These are not true for every image but are a good place to start. When are beginning shooting you really have to consciously think of these things but they will eventually become ingrained in your head and come naturally. Photography is a learned skill that takes work, patience, and lots of practice. Nobody is great right out of the gate.
Composition.
Landscape Shots
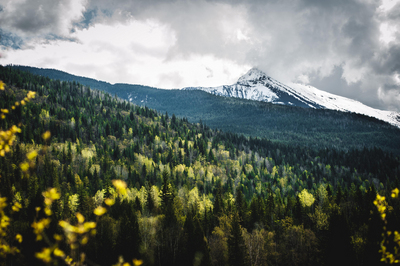
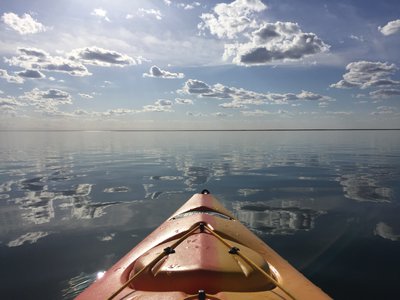
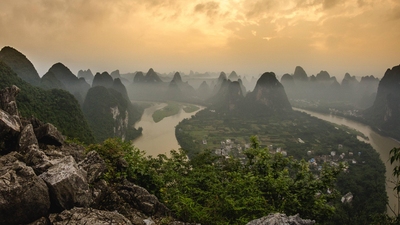
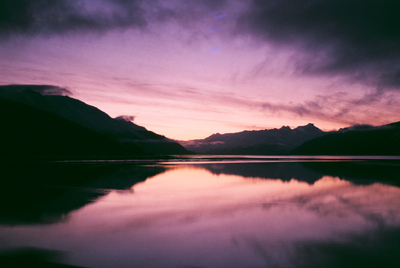
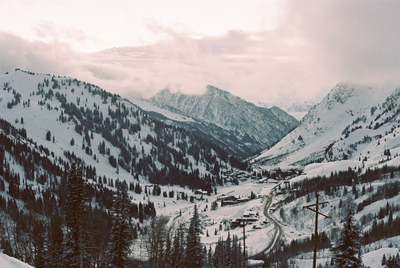
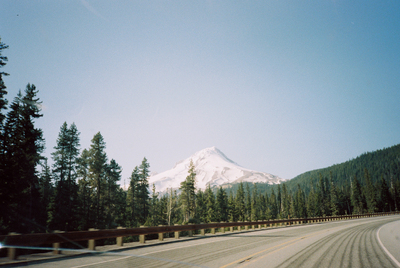
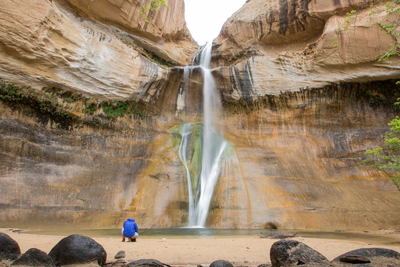
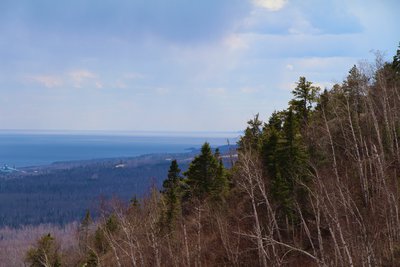
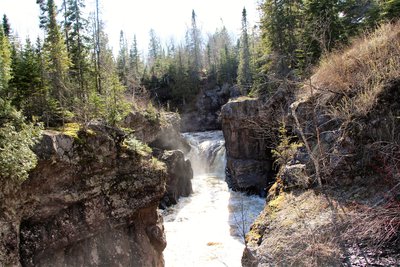
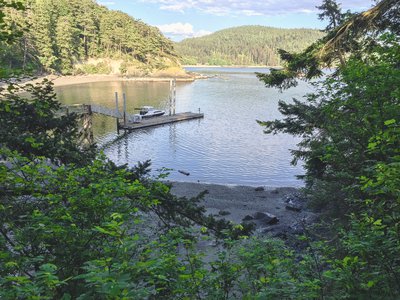
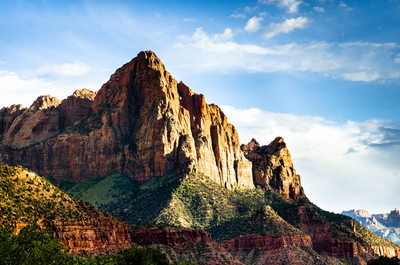
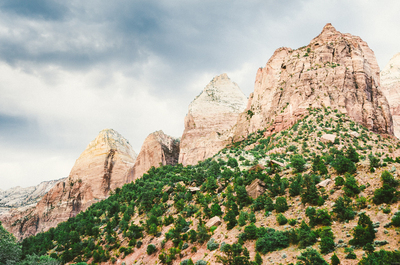
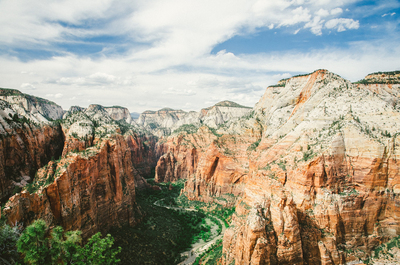
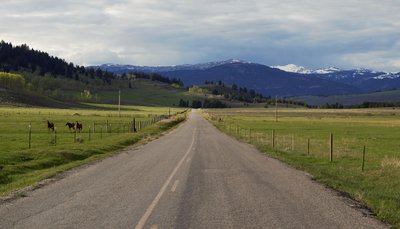
-Use leading lines (the river photo is the best of the bunch). Lines don't need to be immediately apparent (aka rivers or roads) but you can use the shapes of hills, objects, clouds, or anything else to create some kind of line or "s" shape that leads the eye from foreground to background.
-Using leading lines, try to establish a foreground with an identifiable subject, middle ground, and background to lead the eye. Right now the landscape shots don't have any particular subject or dynamic depth so they eye doesn't know where to look so they appear flat.
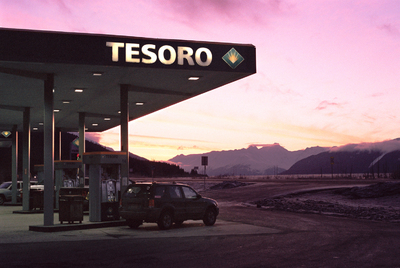
- Balance the frame. Some of the shots have too much going on one side. Try to balance one object on one side/corner with another object.
-Rule of thirds. Just look it up, but a general guideline is to divide frame in thirds and place subjects in crosshairs of rule of thirds lines.
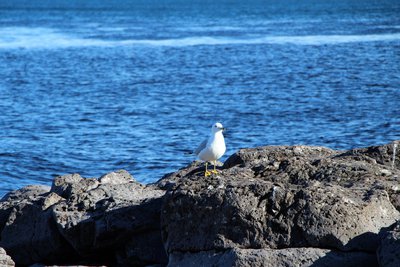
Seagull
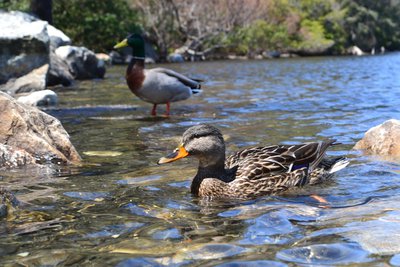
-Get LOWER. For wildlife, you want to be at their eye level if possible. This will also make the background more out of focus and make your subject pop.
-Shoot at wider aperture to also make background more out of focus. Unless you want the animal to be more a part of a scene or landscape shot, you generally want everything but the animal out of focus.
Technical
-Don't blow out your highlights on your subject. Right now the river shot and seagull are blown out (overexposed) meaning you exposed too bright and lost detail in the bright spots. Shoot in manual mode and use a histogram or zebra (if your camera has it) too see where highlights are blown out. Sometimes its ok to blow out sky or windows but almost never on main subject.
-Get a polarizing filter. This will make your colors pop and cut through haze.
-Use a tripod and maybe nd filters (for river and water shots). Nd filters are like sunglasses for your lens and you can use them to darken the scene so that you can have a longer exposure (always on tripod) so get motion blur on water.
Other (maybe most important)
-If you want to get serious about photography, try not to shoot landscapes in the middle of the day in bright sun. Wait until the golden hours around sunset to take great photos. The exception to this is cloudy/stormy days which actually make for great landscape shots at most times of day.
-Learn how to edit shots in lightroom. There are tons of tutorials online but it makes a HUGE difference with final product. The key is to really knitpick every detail of the shot but to not to over edit the shot to the point it looks fake. My rule of thumb is wherever I add an adjustment, I always pull back a little more than my initial impression to keep the natural look.
HodorGoing to give a bunch of advice, but don't worry since you are off to a good start. These are not true for every image but are a good place to start. When are beginning shooting you really have to consciously think of these things but they will eventually become ingrained in your head and come naturally. Photography is a learned skill that takes work, patience, and lots of practice. Nobody is great right out of the gate.
Composition.
Landscape Shots
-Use leading lines (the river photo is the best of the bunch). Lines don't need to be immediately apparent (aka rivers or roads) but you can use the shapes of hills, objects, clouds, or anything else to create some kind of line or "s" shape that leads the eye from foreground to background.
-Using leading lines, try to establish a foreground with an identifiable subject, middle ground, and background to lead the eye. Right now the landscape shots don't have any particular subject or dynamic depth so they eye doesn't know where to look so they appear flat.
- Balance the frame. Some of the shots have too much going on one side. Try to balance one object on one side/corner with another object.
-Rule of thirds. Just look it up, but a general guideline is to divide frame in thirds and place subjects in crosshairs of rule of thirds lines.
Seagull
-Get LOWER. For wildlife, you want to be at their eye level if possible. This will also make the background more out of focus and make your subject pop.
-Shoot at wider aperture to also make background more out of focus. Unless you want the animal to be more a part of a scene or landscape shot, you generally want everything but the animal out of focus.
Technical
-Don't blow out your highlights on your subject. Right now the river shot and seagull are blown out (overexposed) meaning you exposed too bright and lost detail in the bright spots. Shoot in manual mode and use a histogram or zebra (if your camera has it) too see where highlights are blown out. Sometimes its ok to blow out sky or windows but almost never on main subject.
-Get a polarizing filter. This will make your colors pop and cut through haze.
-Use a tripod and maybe nd filters (for river and water shots). Nd filters are like sunglasses for your lens and you can use them to darken the scene so that you can have a longer exposure (always on tripod) so get motion blur on water.
Other (maybe most important)
-If you want to get serious about photography, try not to shoot landscapes in the middle of the day in bright sun. Wait until the golden hours around sunset to take great photos. The exception to this is cloudy/stormy days which actually make for great landscape shots at most times of day.
-Learn how to edit shots in lightroom. There are tons of tutorials online but it makes a HUGE difference with final product. The key is to really knitpick every detail of the shot but to not to over edit the shot to the point it looks fake. My rule of thumb is wherever I add an adjustment, I always pull back a little more than my initial impression to keep the natural look.
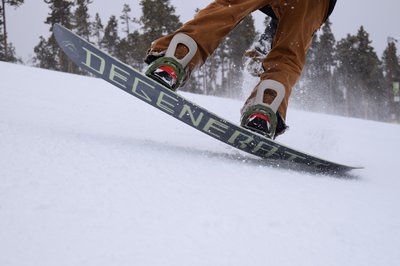
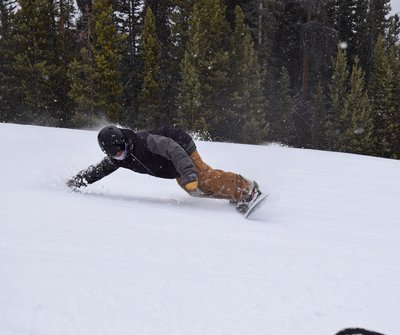
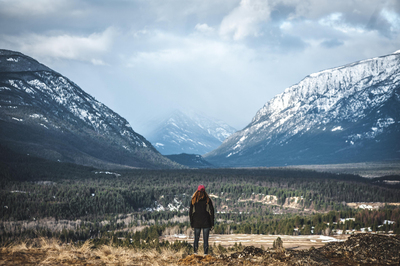
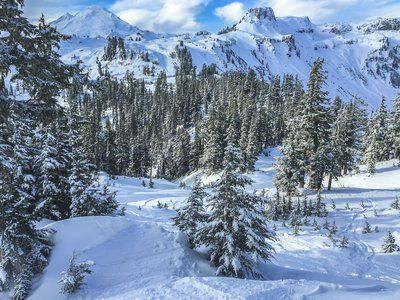
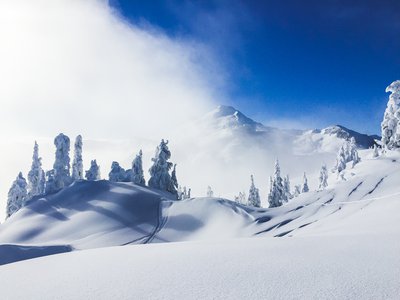
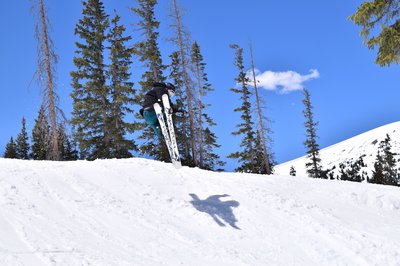
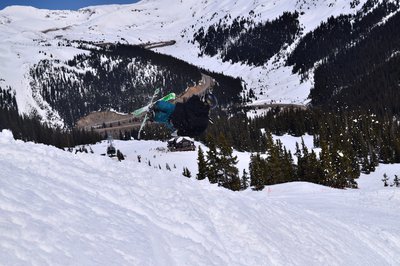
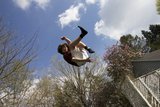
These are from like my 5th or 6th time using a camera (since I'm still brand spankin new) using my D3300 with the 18-55? I could be wrong in that hahah. Any tips or advice?
frickindarnThese are from like my 5th or 6th time using a camera (since I'm still brand spankin new) using my D3300 with the 18-55? I could be wrong in that hahah. Any tips or advice?
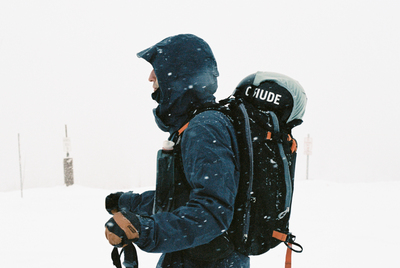
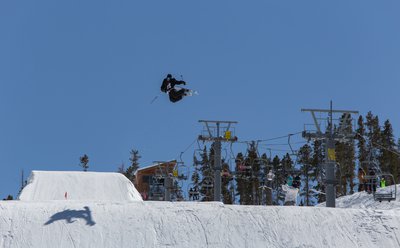
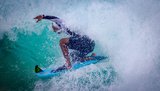
For skiing/action shots in general, isolate the subject more. For example, placing a skier in front of white snow or a blue sky makes him/her stand out a lot more than having them in front of trees or a dark, messy background.
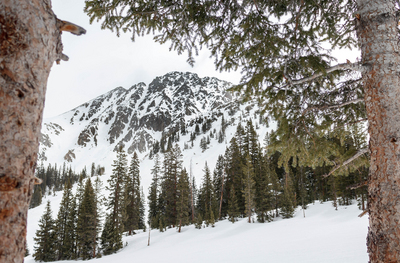
Also, as it is an action shot, try to fill the frame with action. Anything that doesn't compliment the subject or background should be cropped out. For both the shots you posted, you could've been much closer. The second one has some cool background going but the framing is messy and undefined. Have some more sky in there, get low to place the skier in front of it, work with the defined lines in the mountains, etc. When shooting a subject, think first about how you'd frame the background then place the subject somewhere that will stand out.
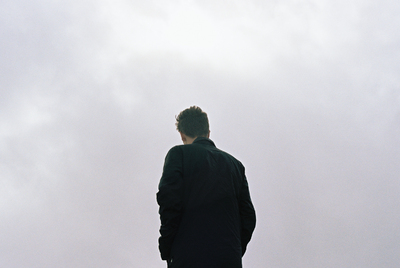
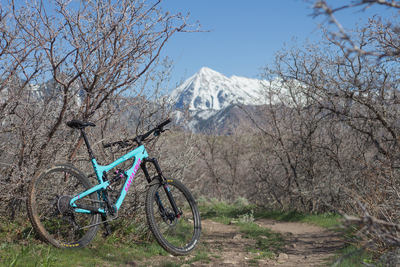
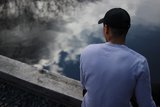
For the last one, it's simply just a boring picture. That being said, just taking pictures of whatever you find interesting is a great way to improve as a beginner photographer. When you see something that's cool, take its photo. Then look at the photo and ask yourself if it captured the same emotions that made you think it was interesting enough to take the photo. If it doesn't, then ask yourself what you could've done differently to help that.